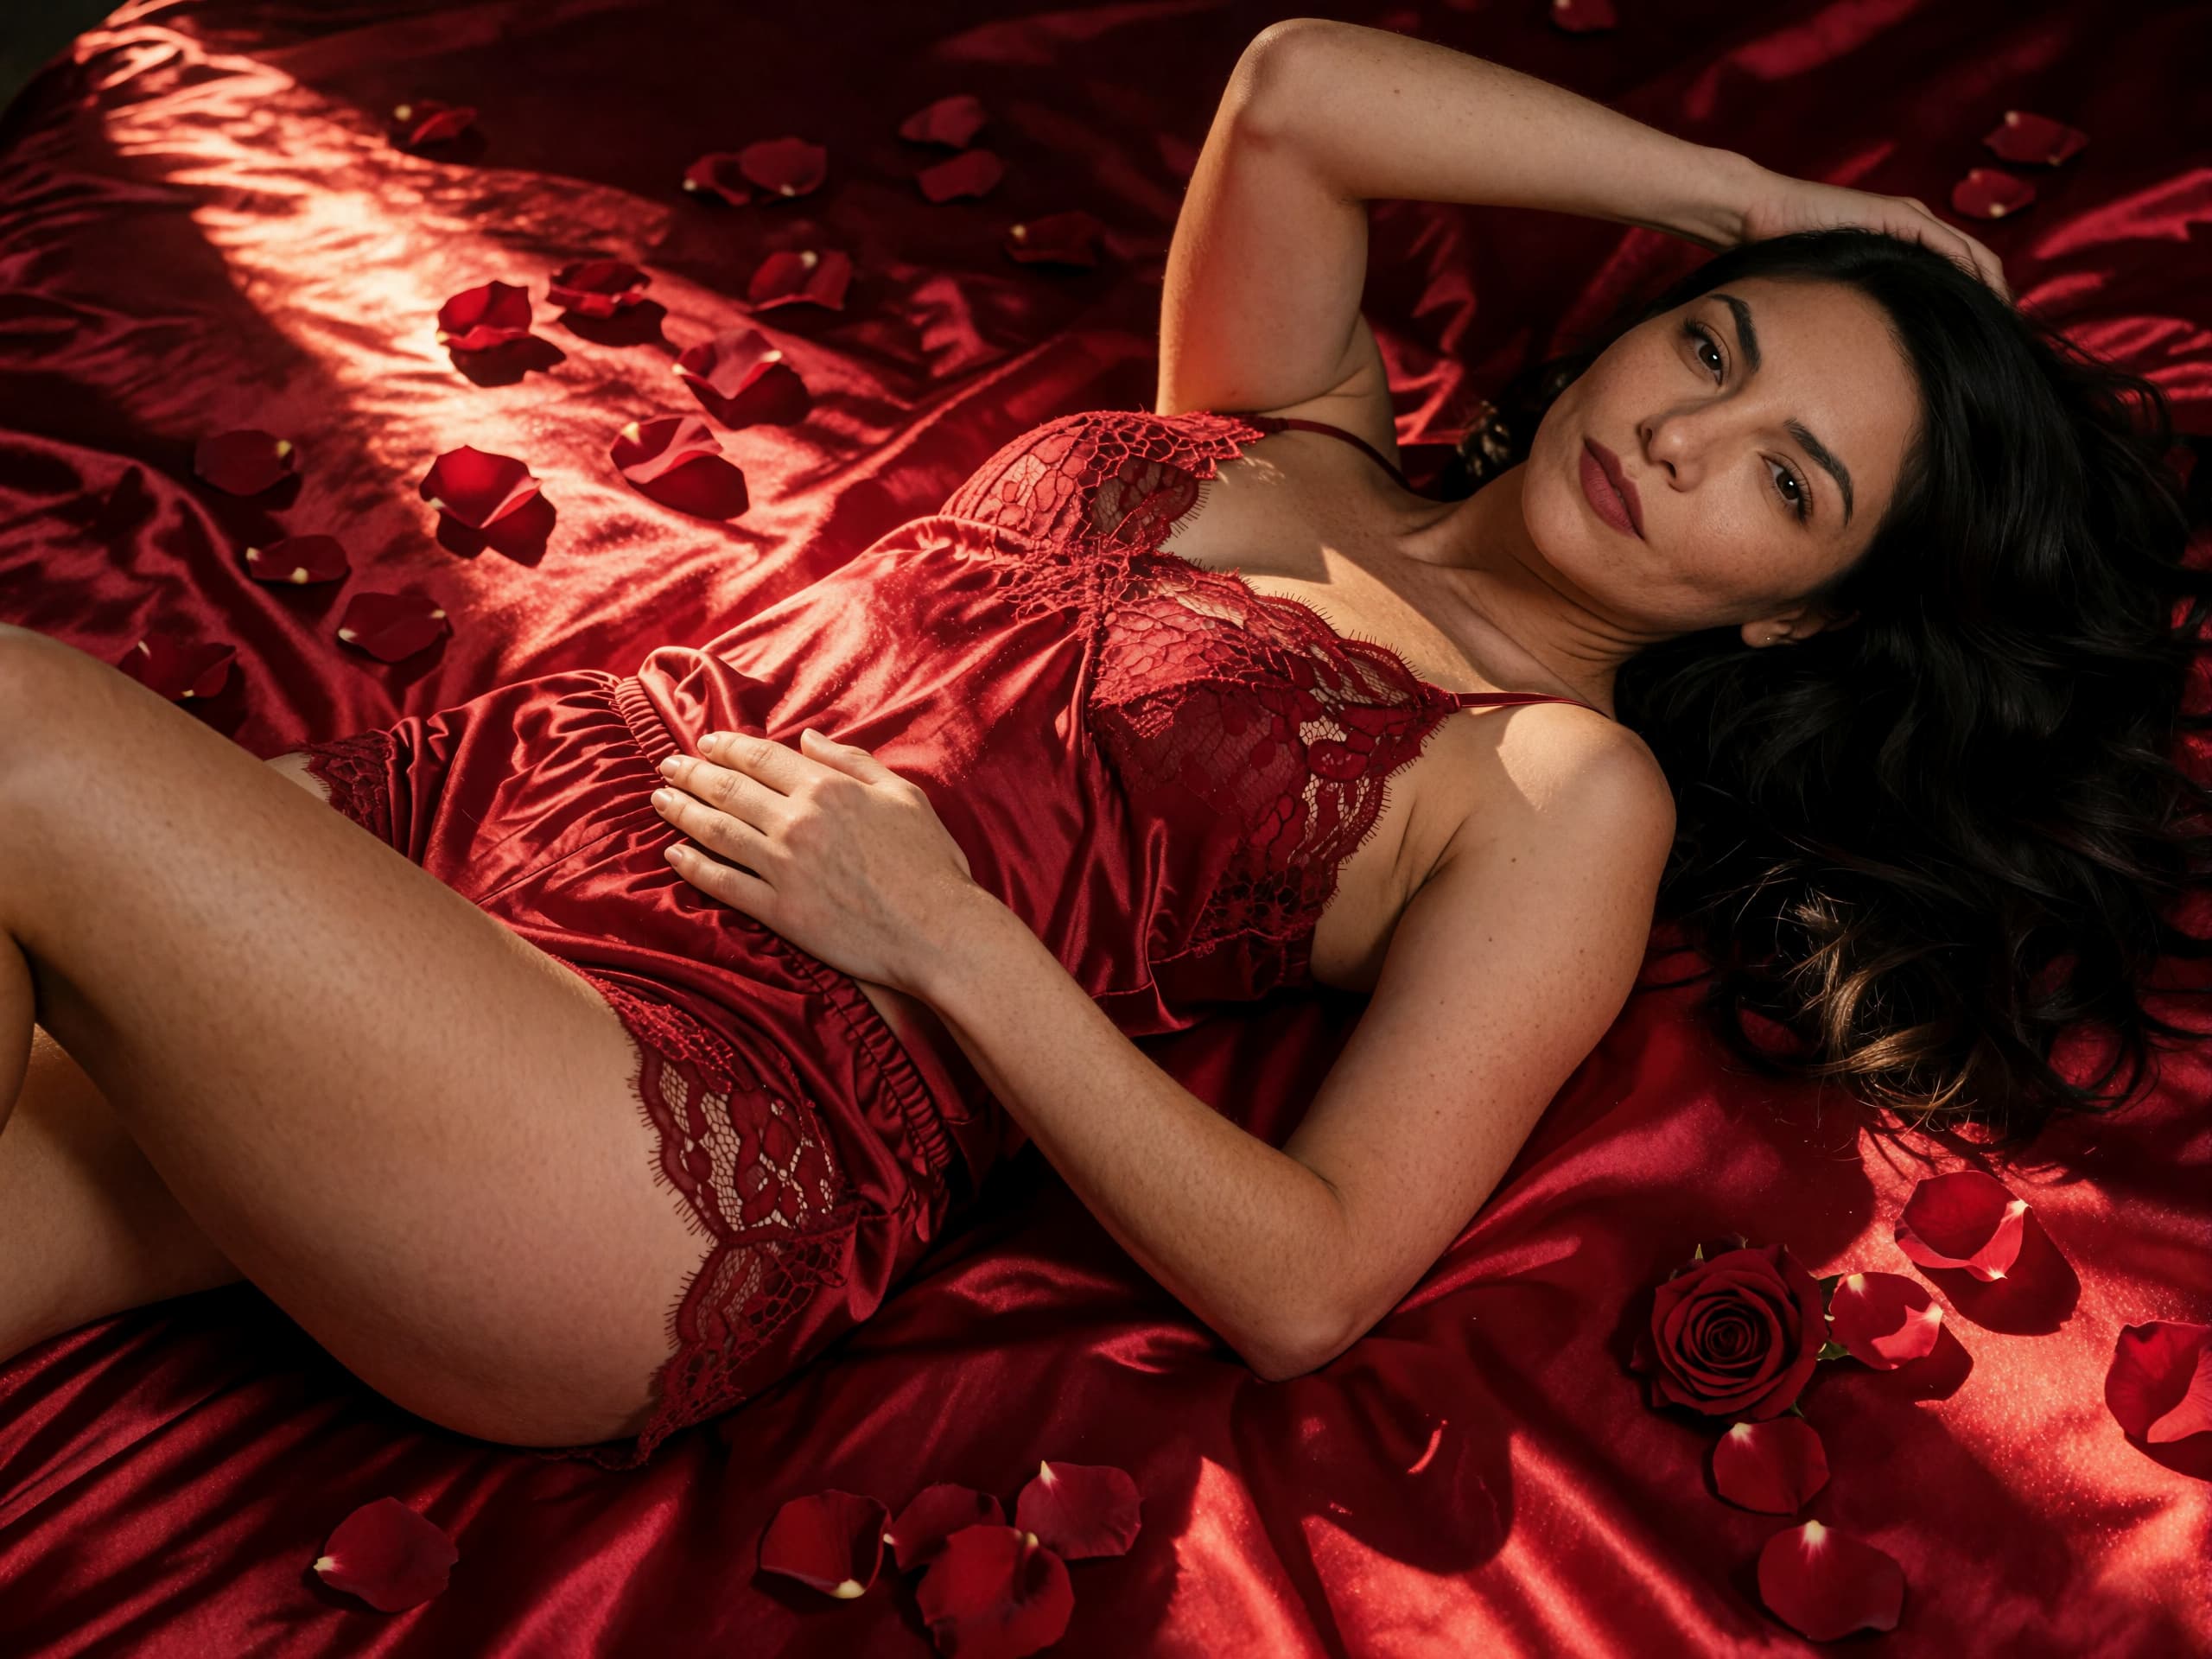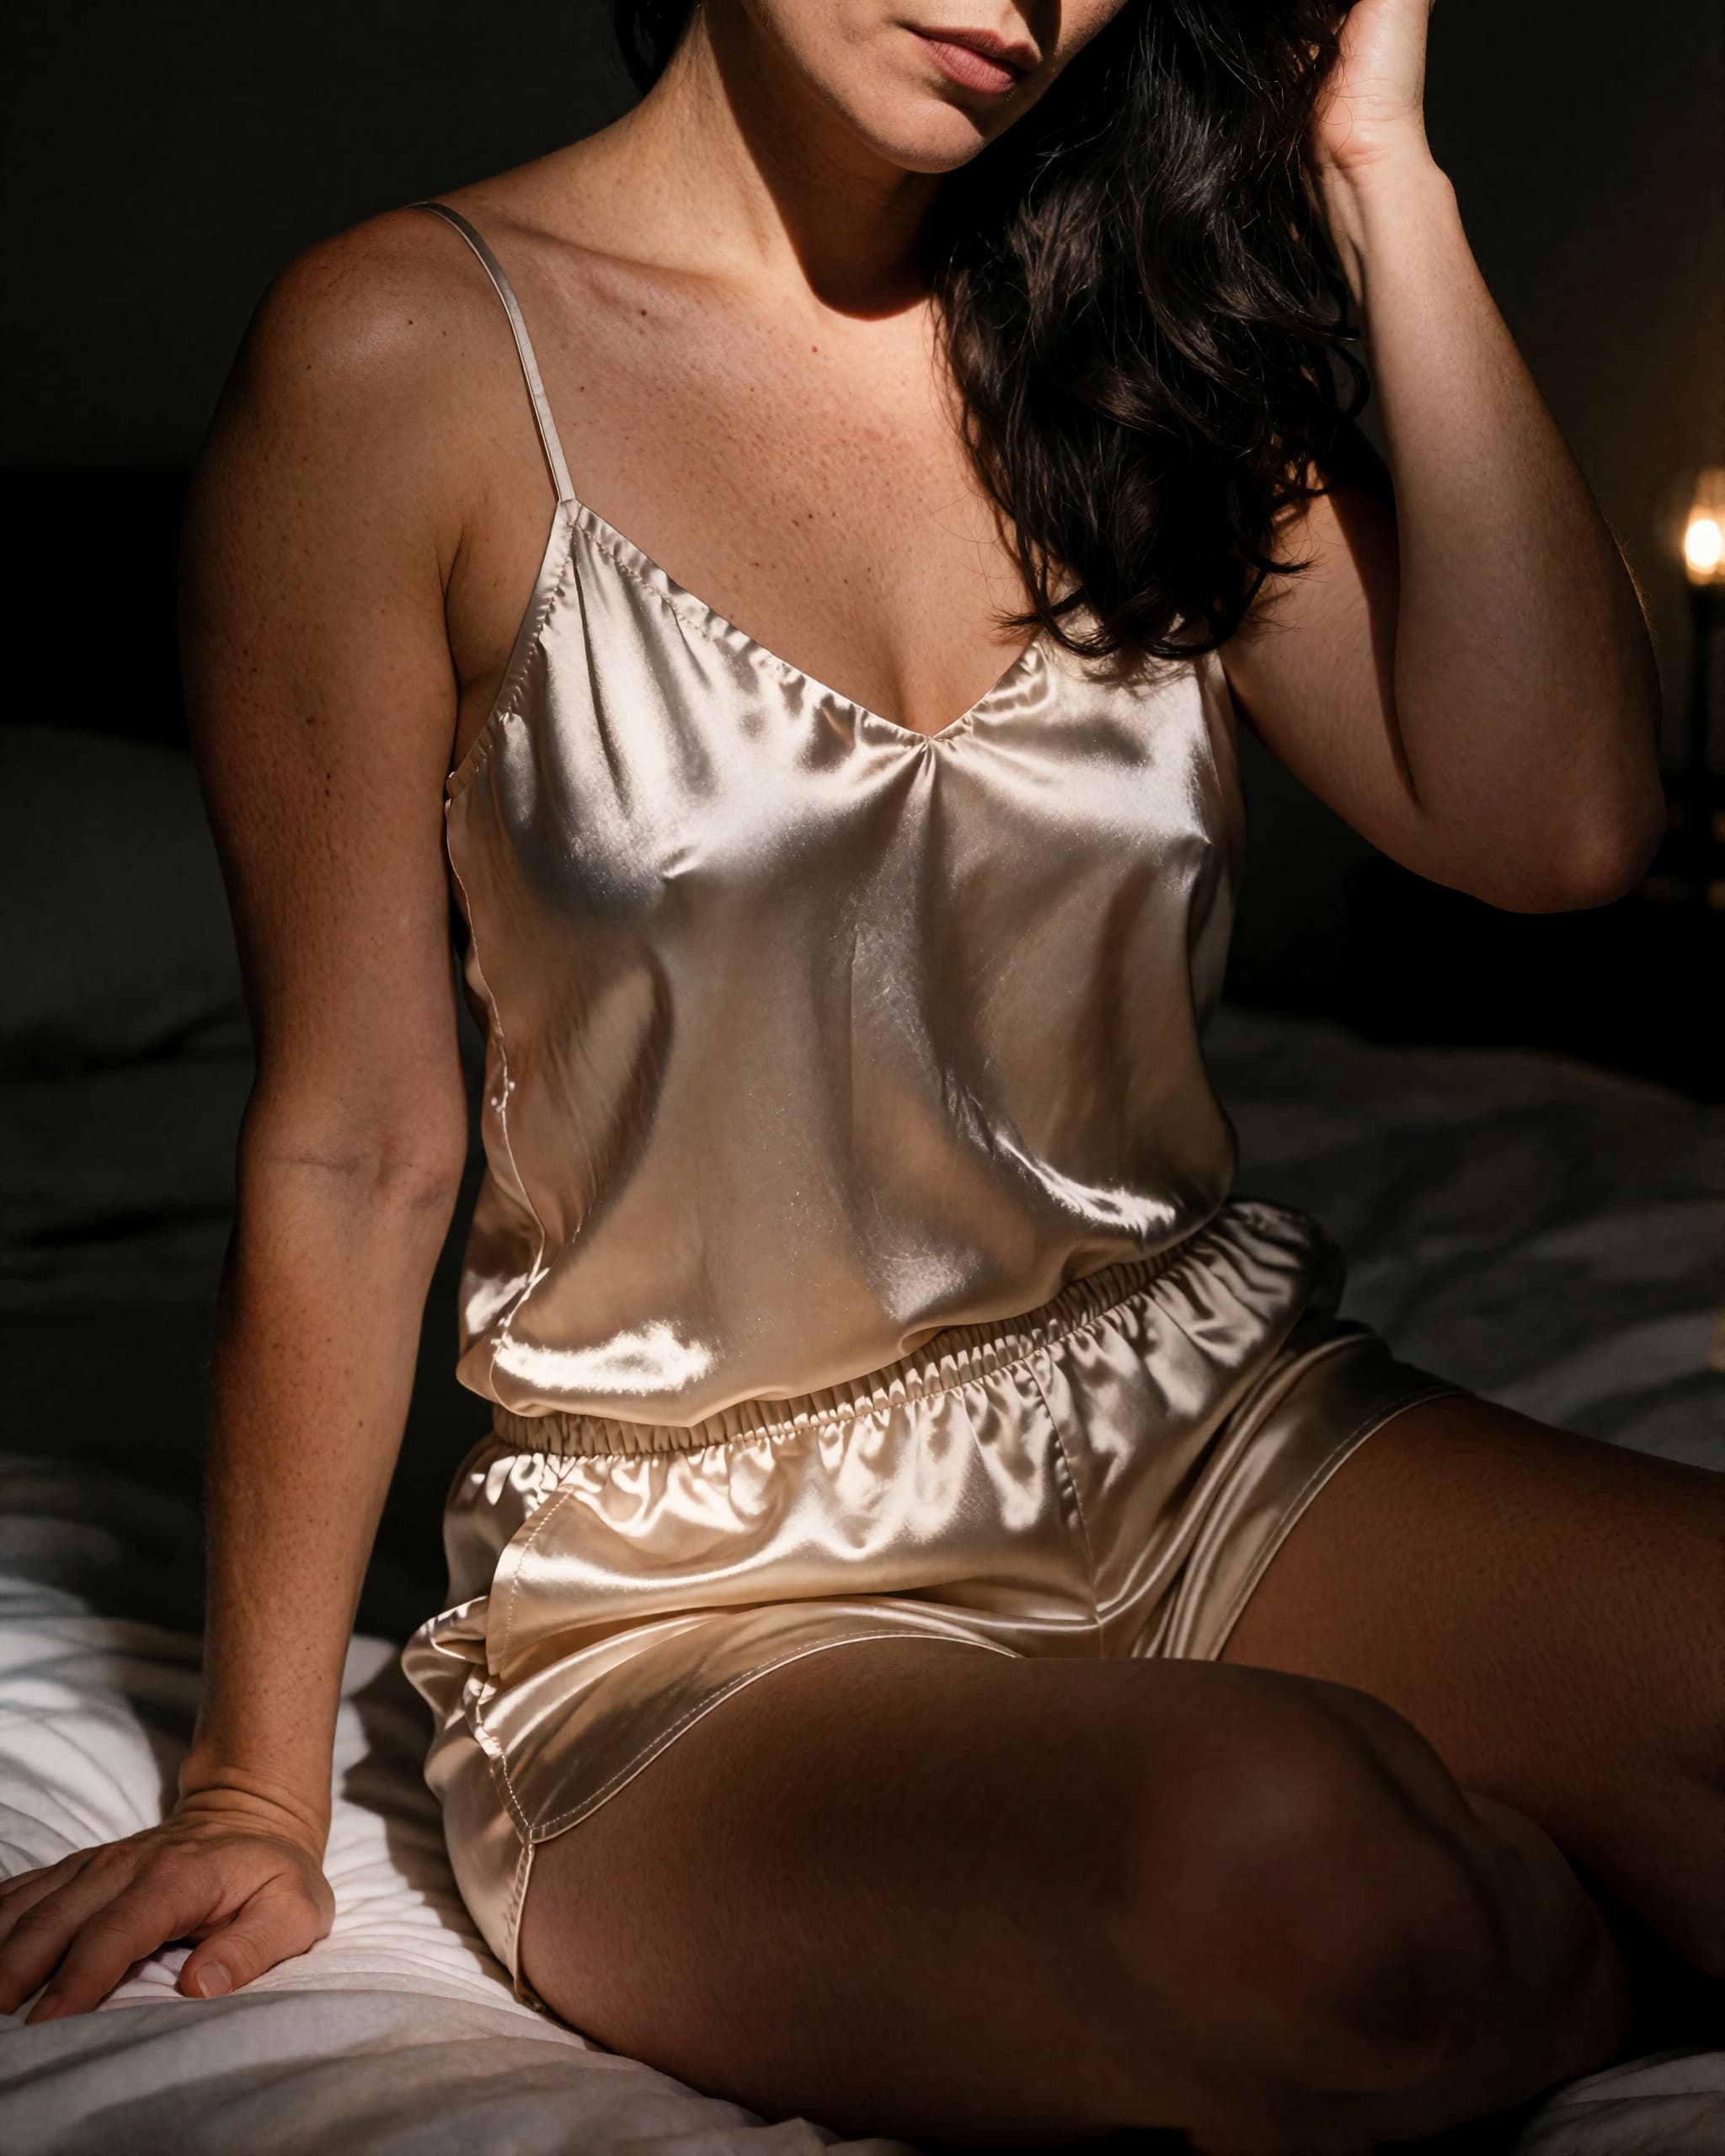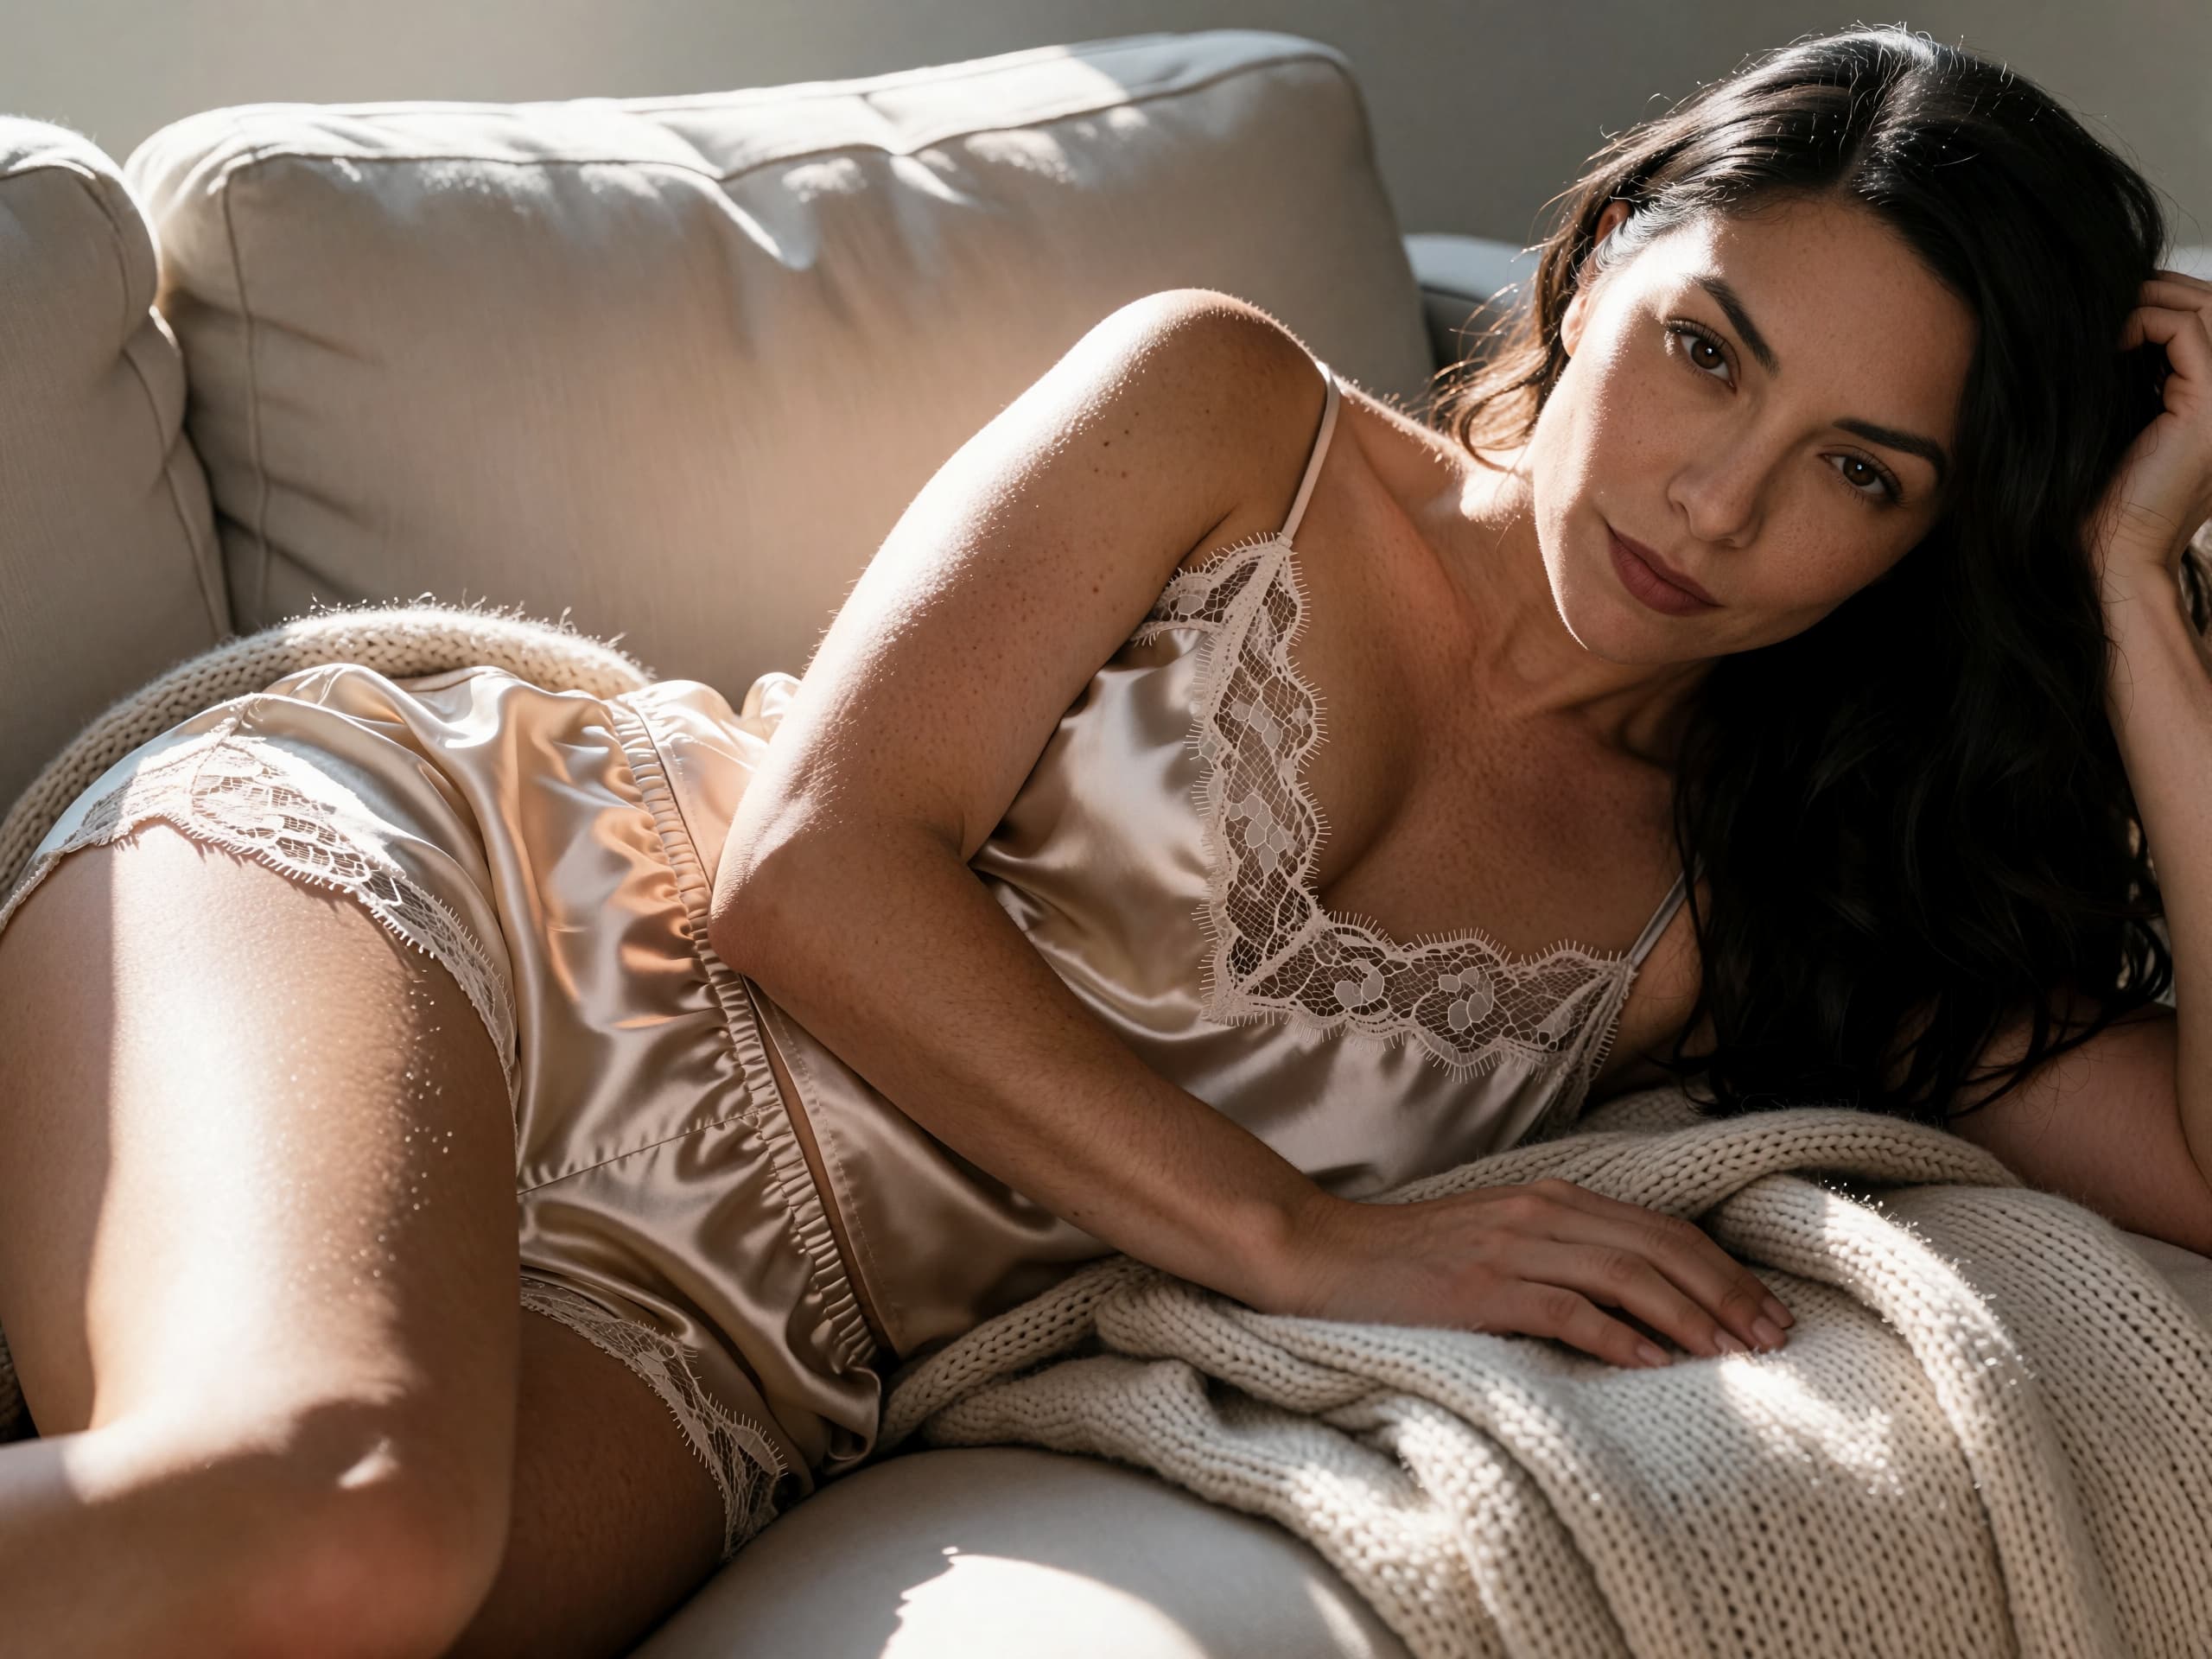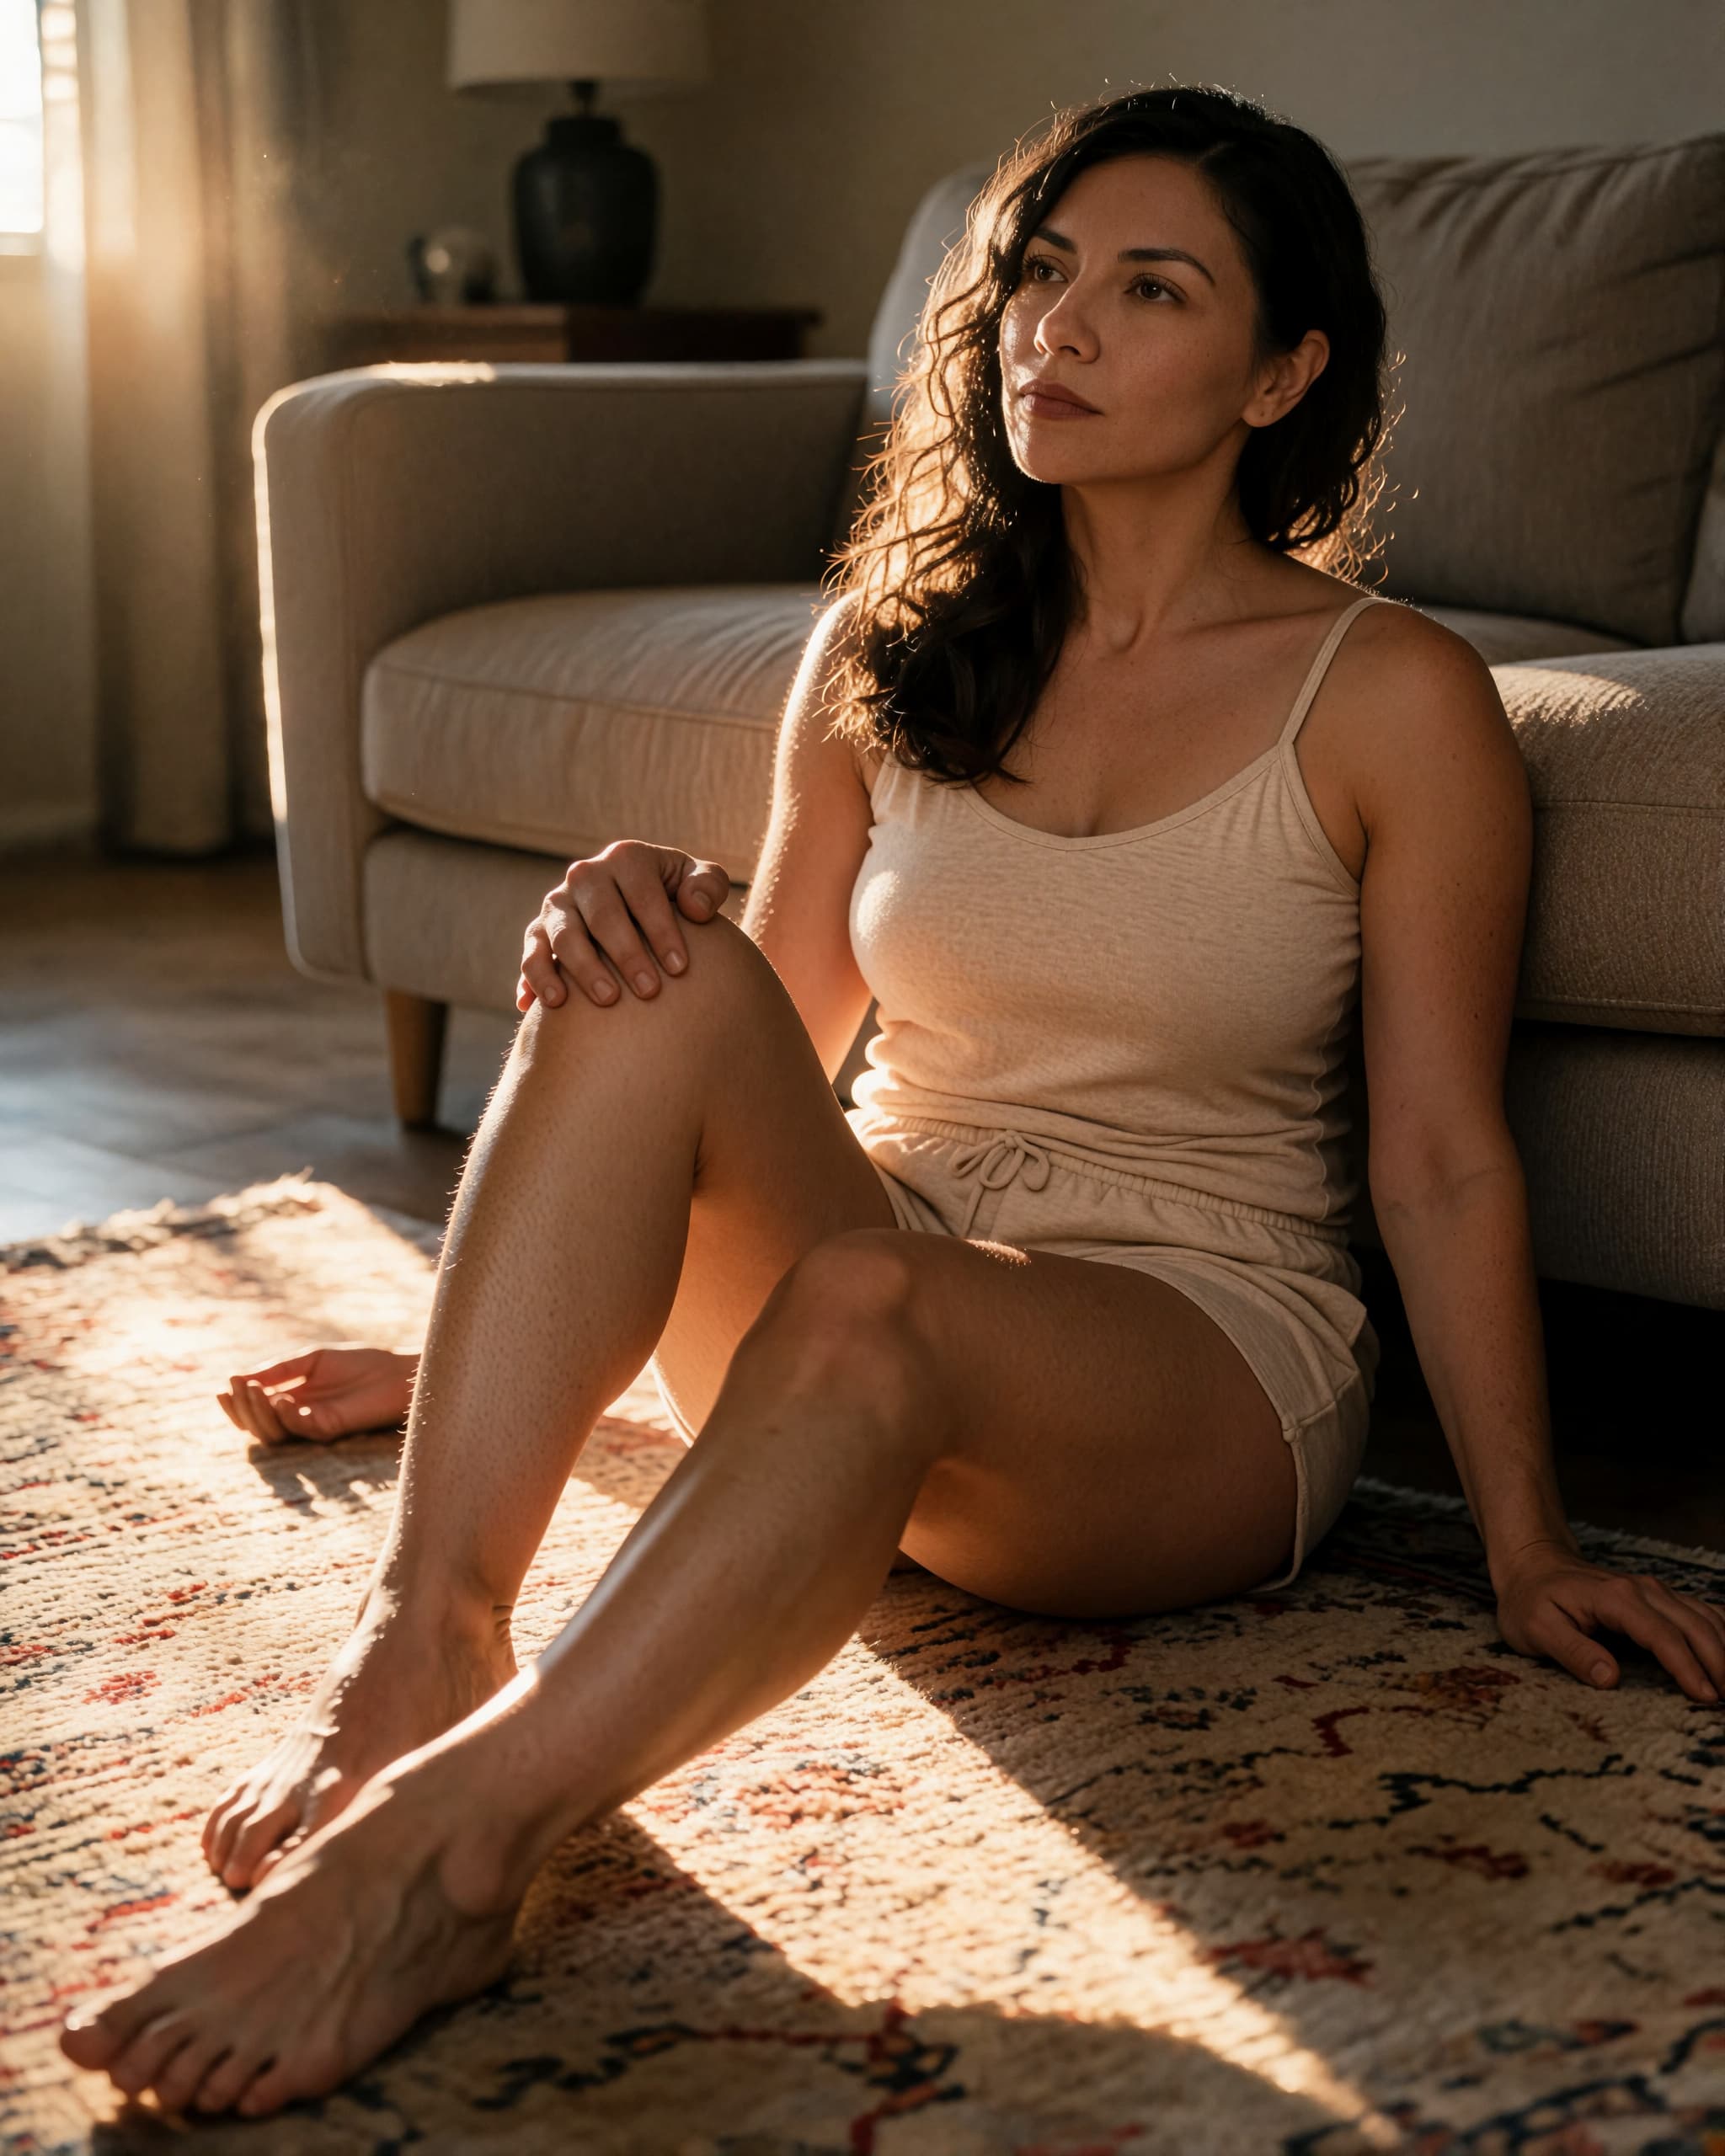
Recreate this look
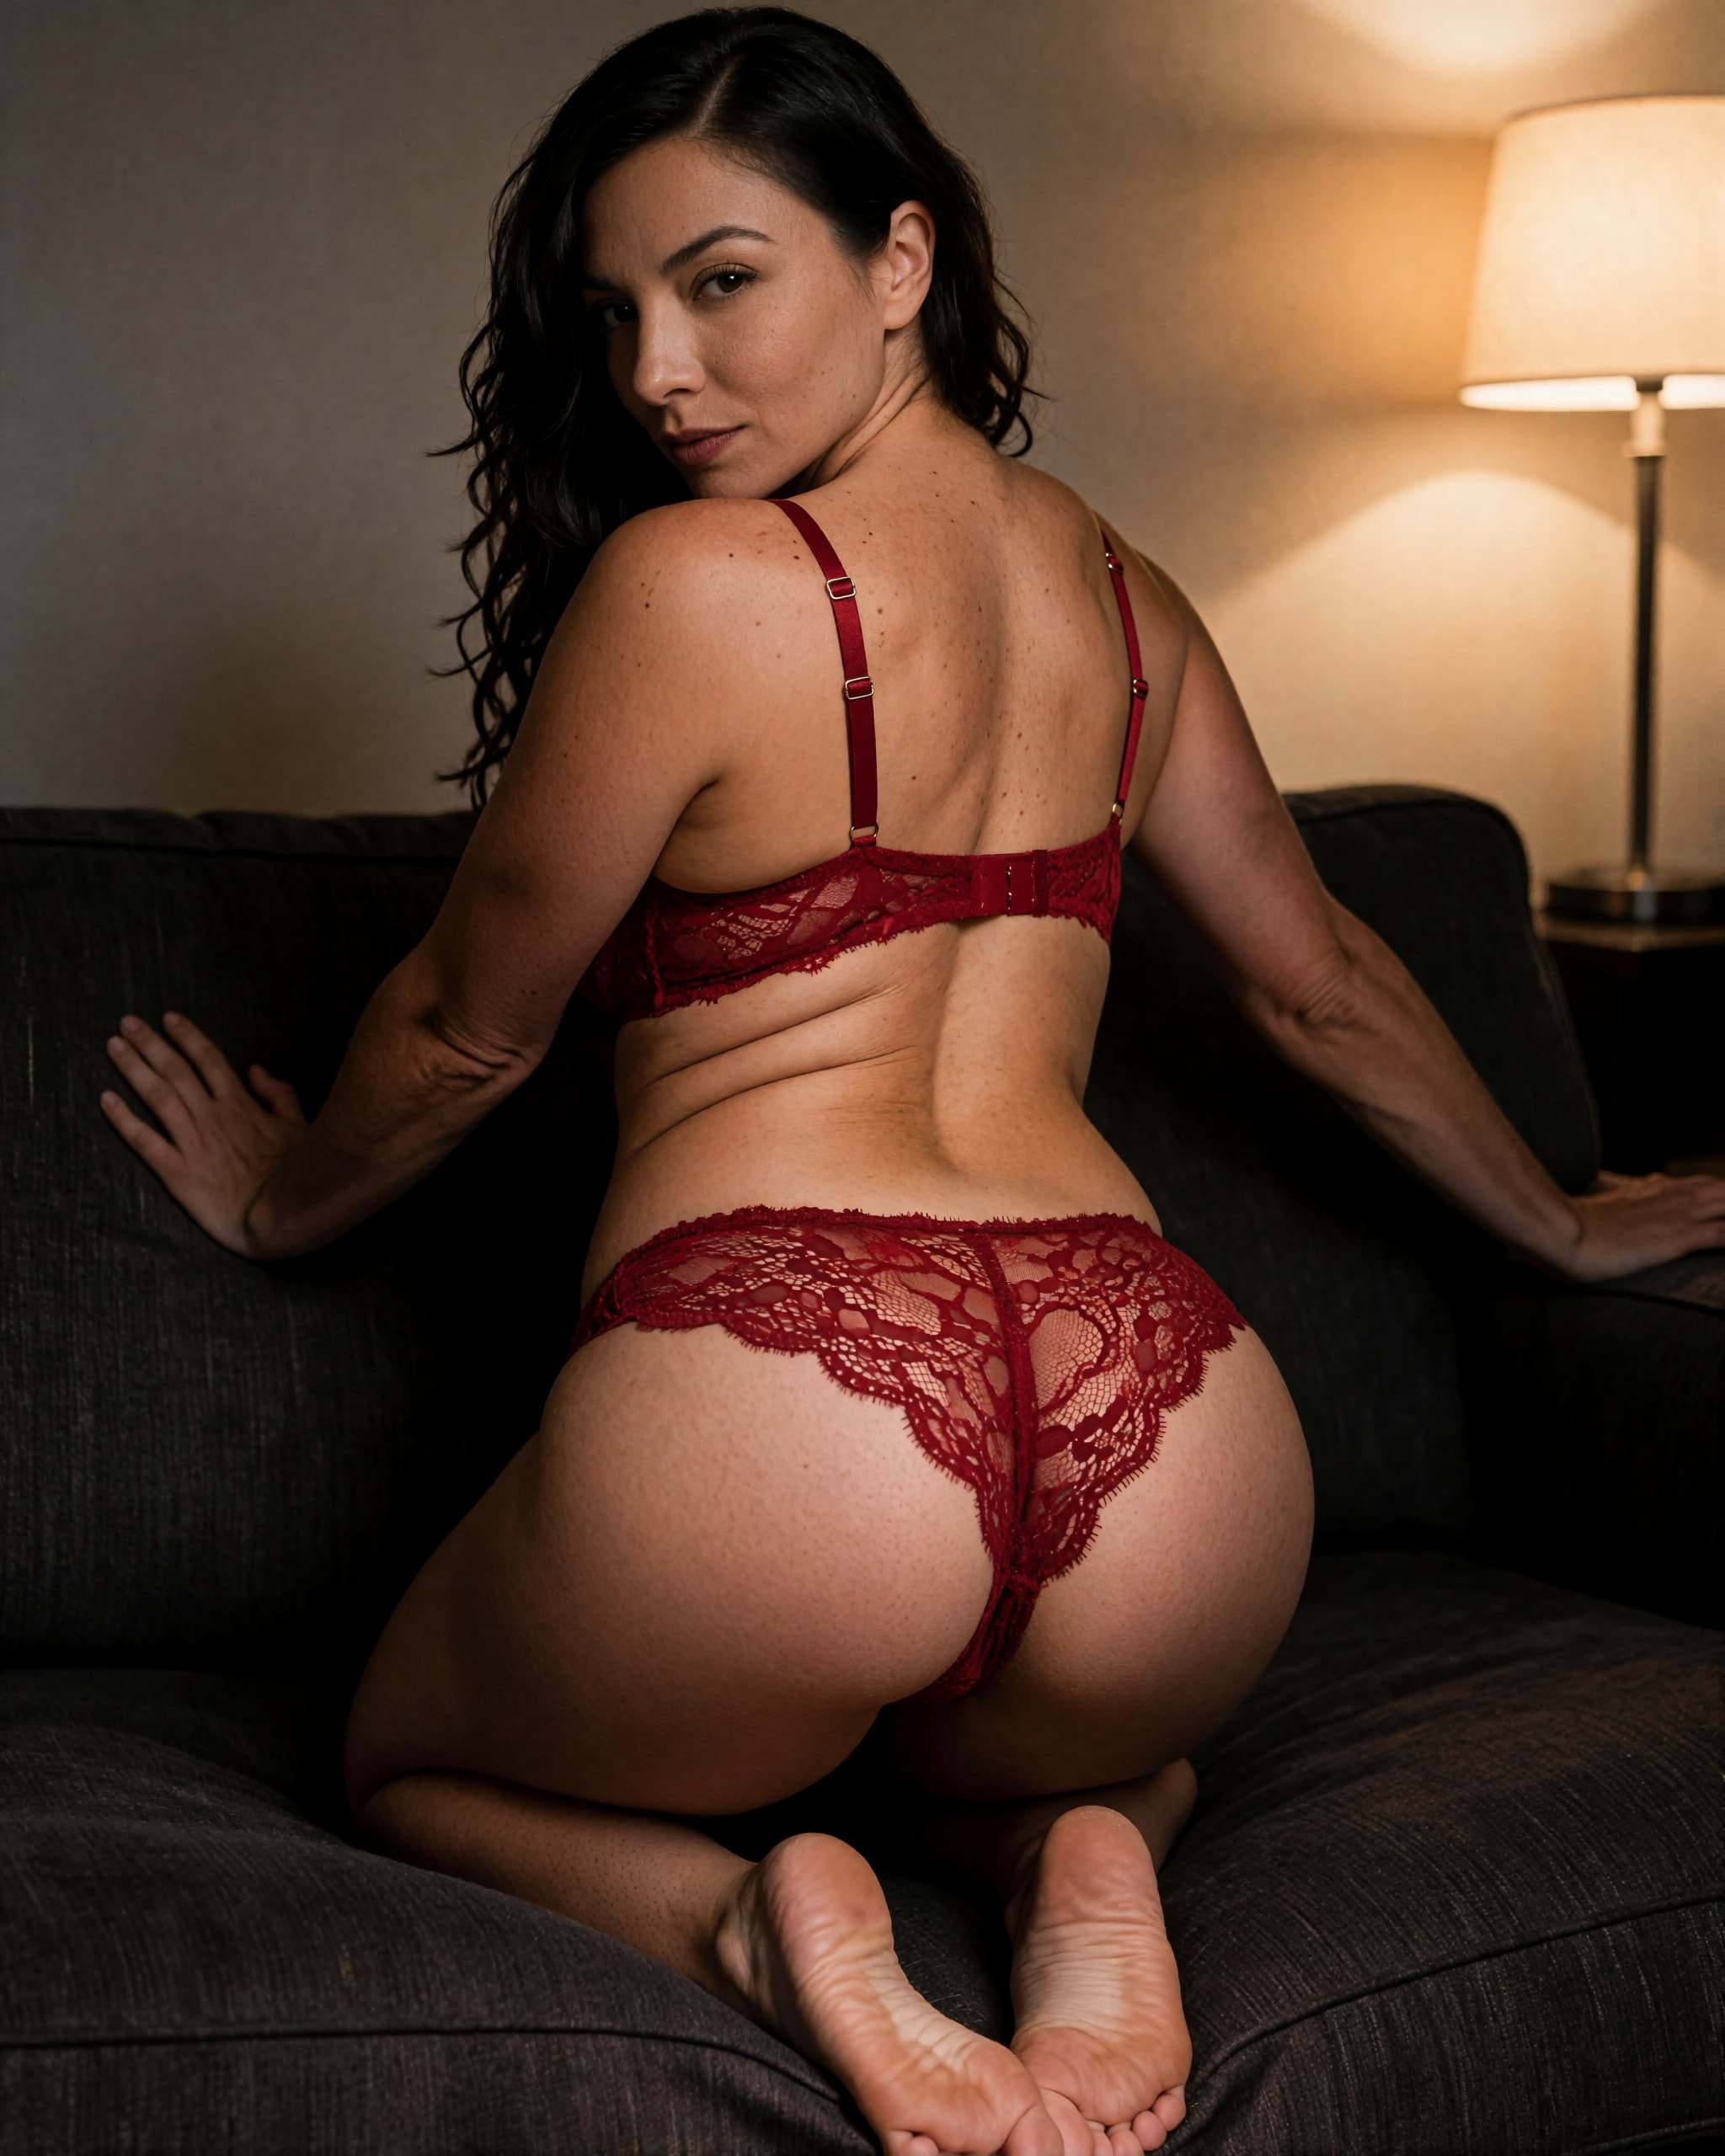
Look Back in Red
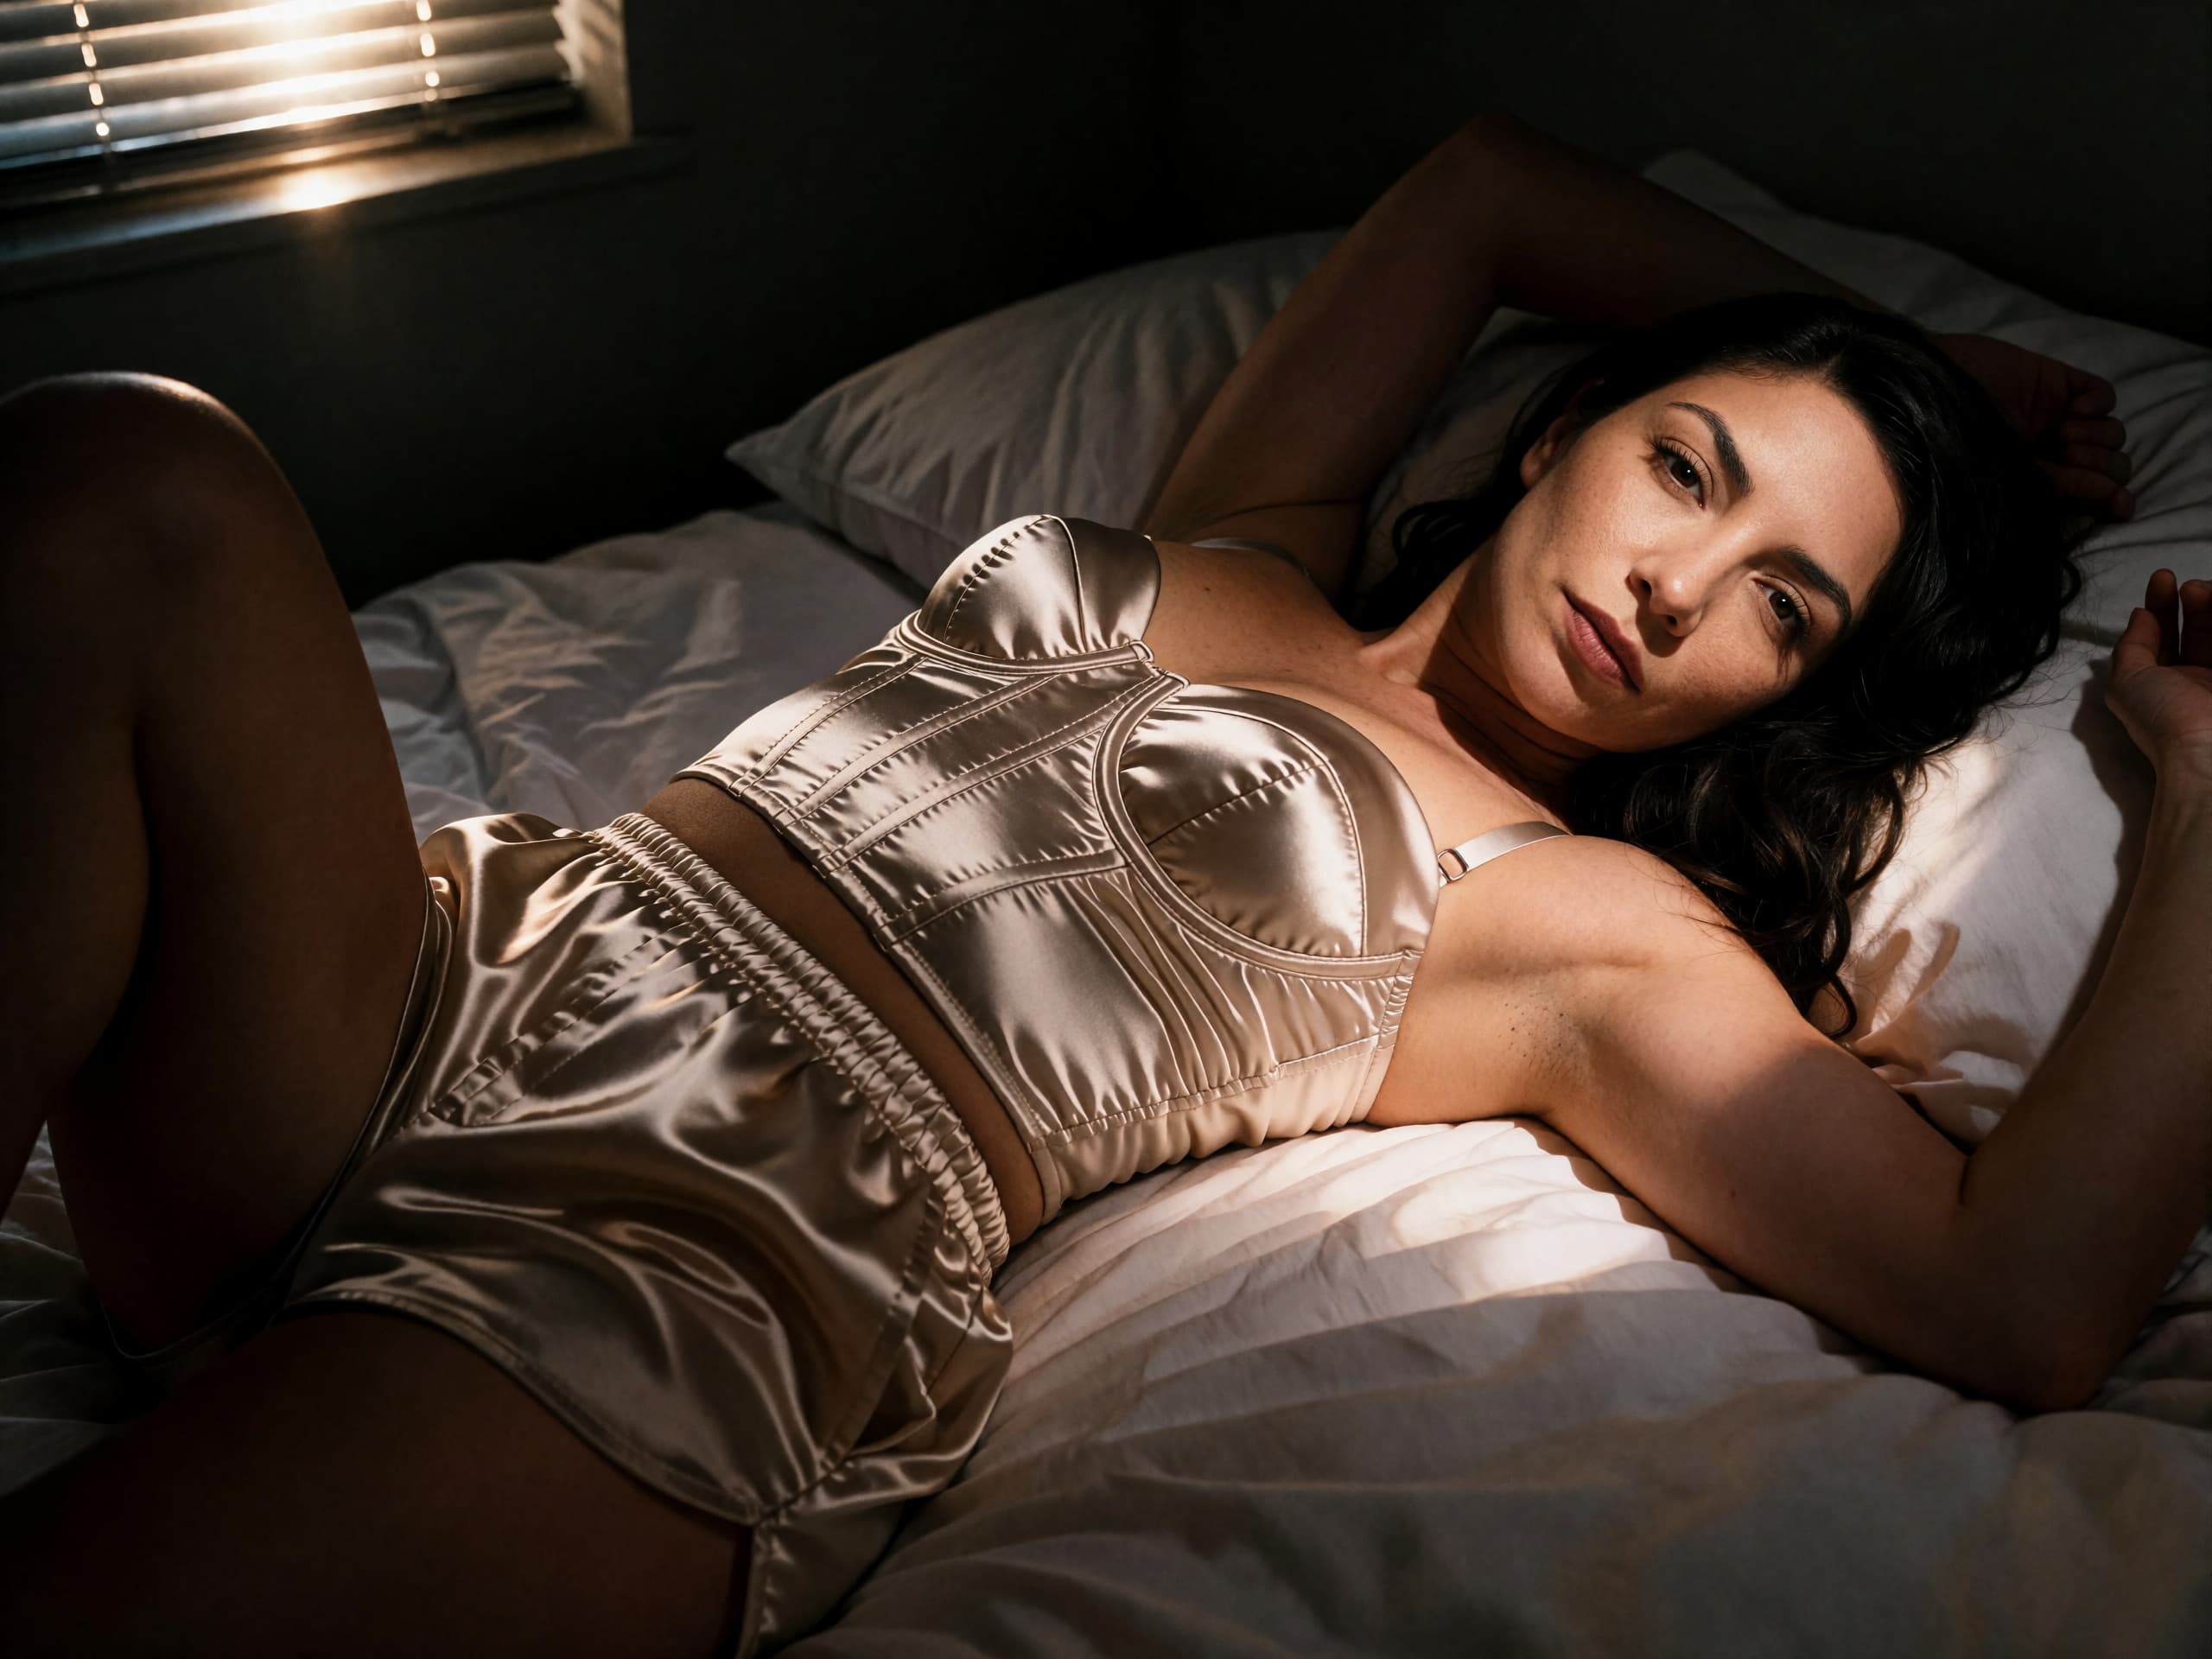
Lighting
- Any time after dark, which makes this the easiest look in the library to plan: no weather to wait for and no hour to catch. Pick an evening when the room will be yours.
- Use one lamp and nothing else. A bedside lamp with a warm bulb and its shade on is exactly right; the overheads go off, and so does everything else in the room.
- Put the lamp low and to one side of you, fairly close, so the light rakes sideways across you rather than falling down onto you. That shallow, sideways angle is what shows texture — lace, skin, the line of a shoulder — and overhead light flattens all of it.
- If the bulb is bare or harsh, clip a white pillowcase or a thin sheet over the shade to soften it, but keep the fabric well clear of a hot bulb.
- Let the far side of you fall into deep shadow and leave it there. A single lamp is meant to light part of you, and trying to fill the other side with a second lamp is what turns this look ordinary.
- Set the exposure — how bright or dark the picture comes out — off a stand-in, not off yourself: you cannot tap your own skin from behind the phone. Stand a cushion or a folded coat where you will be, tap the screen on its lamp-lit part, then ease the slider down a little so the lit skin glows rather than burns out.
- Lamplight is dimmer than it feels, so the phone will capture more slowly than usual. Hold still through the frame and take plenty — some will be sharper than others, and that is normal rather than a fault.
Posing
- Turn your back to the lens first and get the body settled before you think about the look back. The body faces away, the face comes back — in that order, and never both at once.
- Settle your weight into one hip and push it out to the side. Facing away, that push is the whole shape of the frame: it is what draws the long S from shoulder to hip.
- Let a gentle arch come into your lower back. Gentle is the word — a small curve reads as a line, and a big one reads as strain.
- Standing still, sweep your hair over to the far shoulder, away from the camera, and pin it there if it will not stay — clearing the nape and the shoulder blade is what makes the back of the frame worth looking at. Walking away, do the opposite and leave it loose: hair that swings a beat behind the turn is the thing that tells the eye you were moving, and a sweep you have to hold in place cannot swing.
- Roll both shoulders back and down. From behind, the shoulders are the widest thing in the frame, and dropping them is what turns a hunched line into a long one.
- Now turn back over the near shoulder — the one closest to the camera. Standing still, turn the head and not the torso: if the shoulders come round with it, the shape you just built disappears. Walking away, turn from the waist instead and let the shoulders come — there is no still shape to protect, and a head swivelling on a squared-up back reads as a woman looking for something rather than a woman glancing back.
- Bring your chin toward that shoulder rather than away from it, and lift it slightly. Chin toward the shoulder is what makes a look-back read as inviting rather than startled.
- Give the arms a job on the way round: a hand resting on the hip, one lifted to hold the hair, one reaching across to the far shoulder. Keep the near arm an inch clear of your ribs.
- Decide how far round to turn, and know that you decide it. A quarter turn shows a cheekbone and nothing more; a full turn meets the lens. Both are finished frames, so choose the one you actually want.
- Standing still, keep the turn where you put it and do not drift back to the front while the timer runs — the neck wants to unwind, and the frames where it does are the ones that look uncertain. Mid-step there is nothing to keep: walk the line again instead, and again, because the frame you want is one stride in four and you cannot feel which one it was.
- Breathe out as the picture is taken and let your expression soften on the exhale.
- Shoot a run and vary how far the face comes round between frames, from barely at all to fully. You will almost always prefer a different amount than you expected before you looked.
Coming with free accounts: saving this look to your favourites, dropping it straight into a shoot plan, and pose notes adjusted to your space and comfort level. Until then, the recipe above is the whole thing — print it, or keep it open on your phone. Grab the free checklist and we'll email you the moment accounts open.