Recreate this look
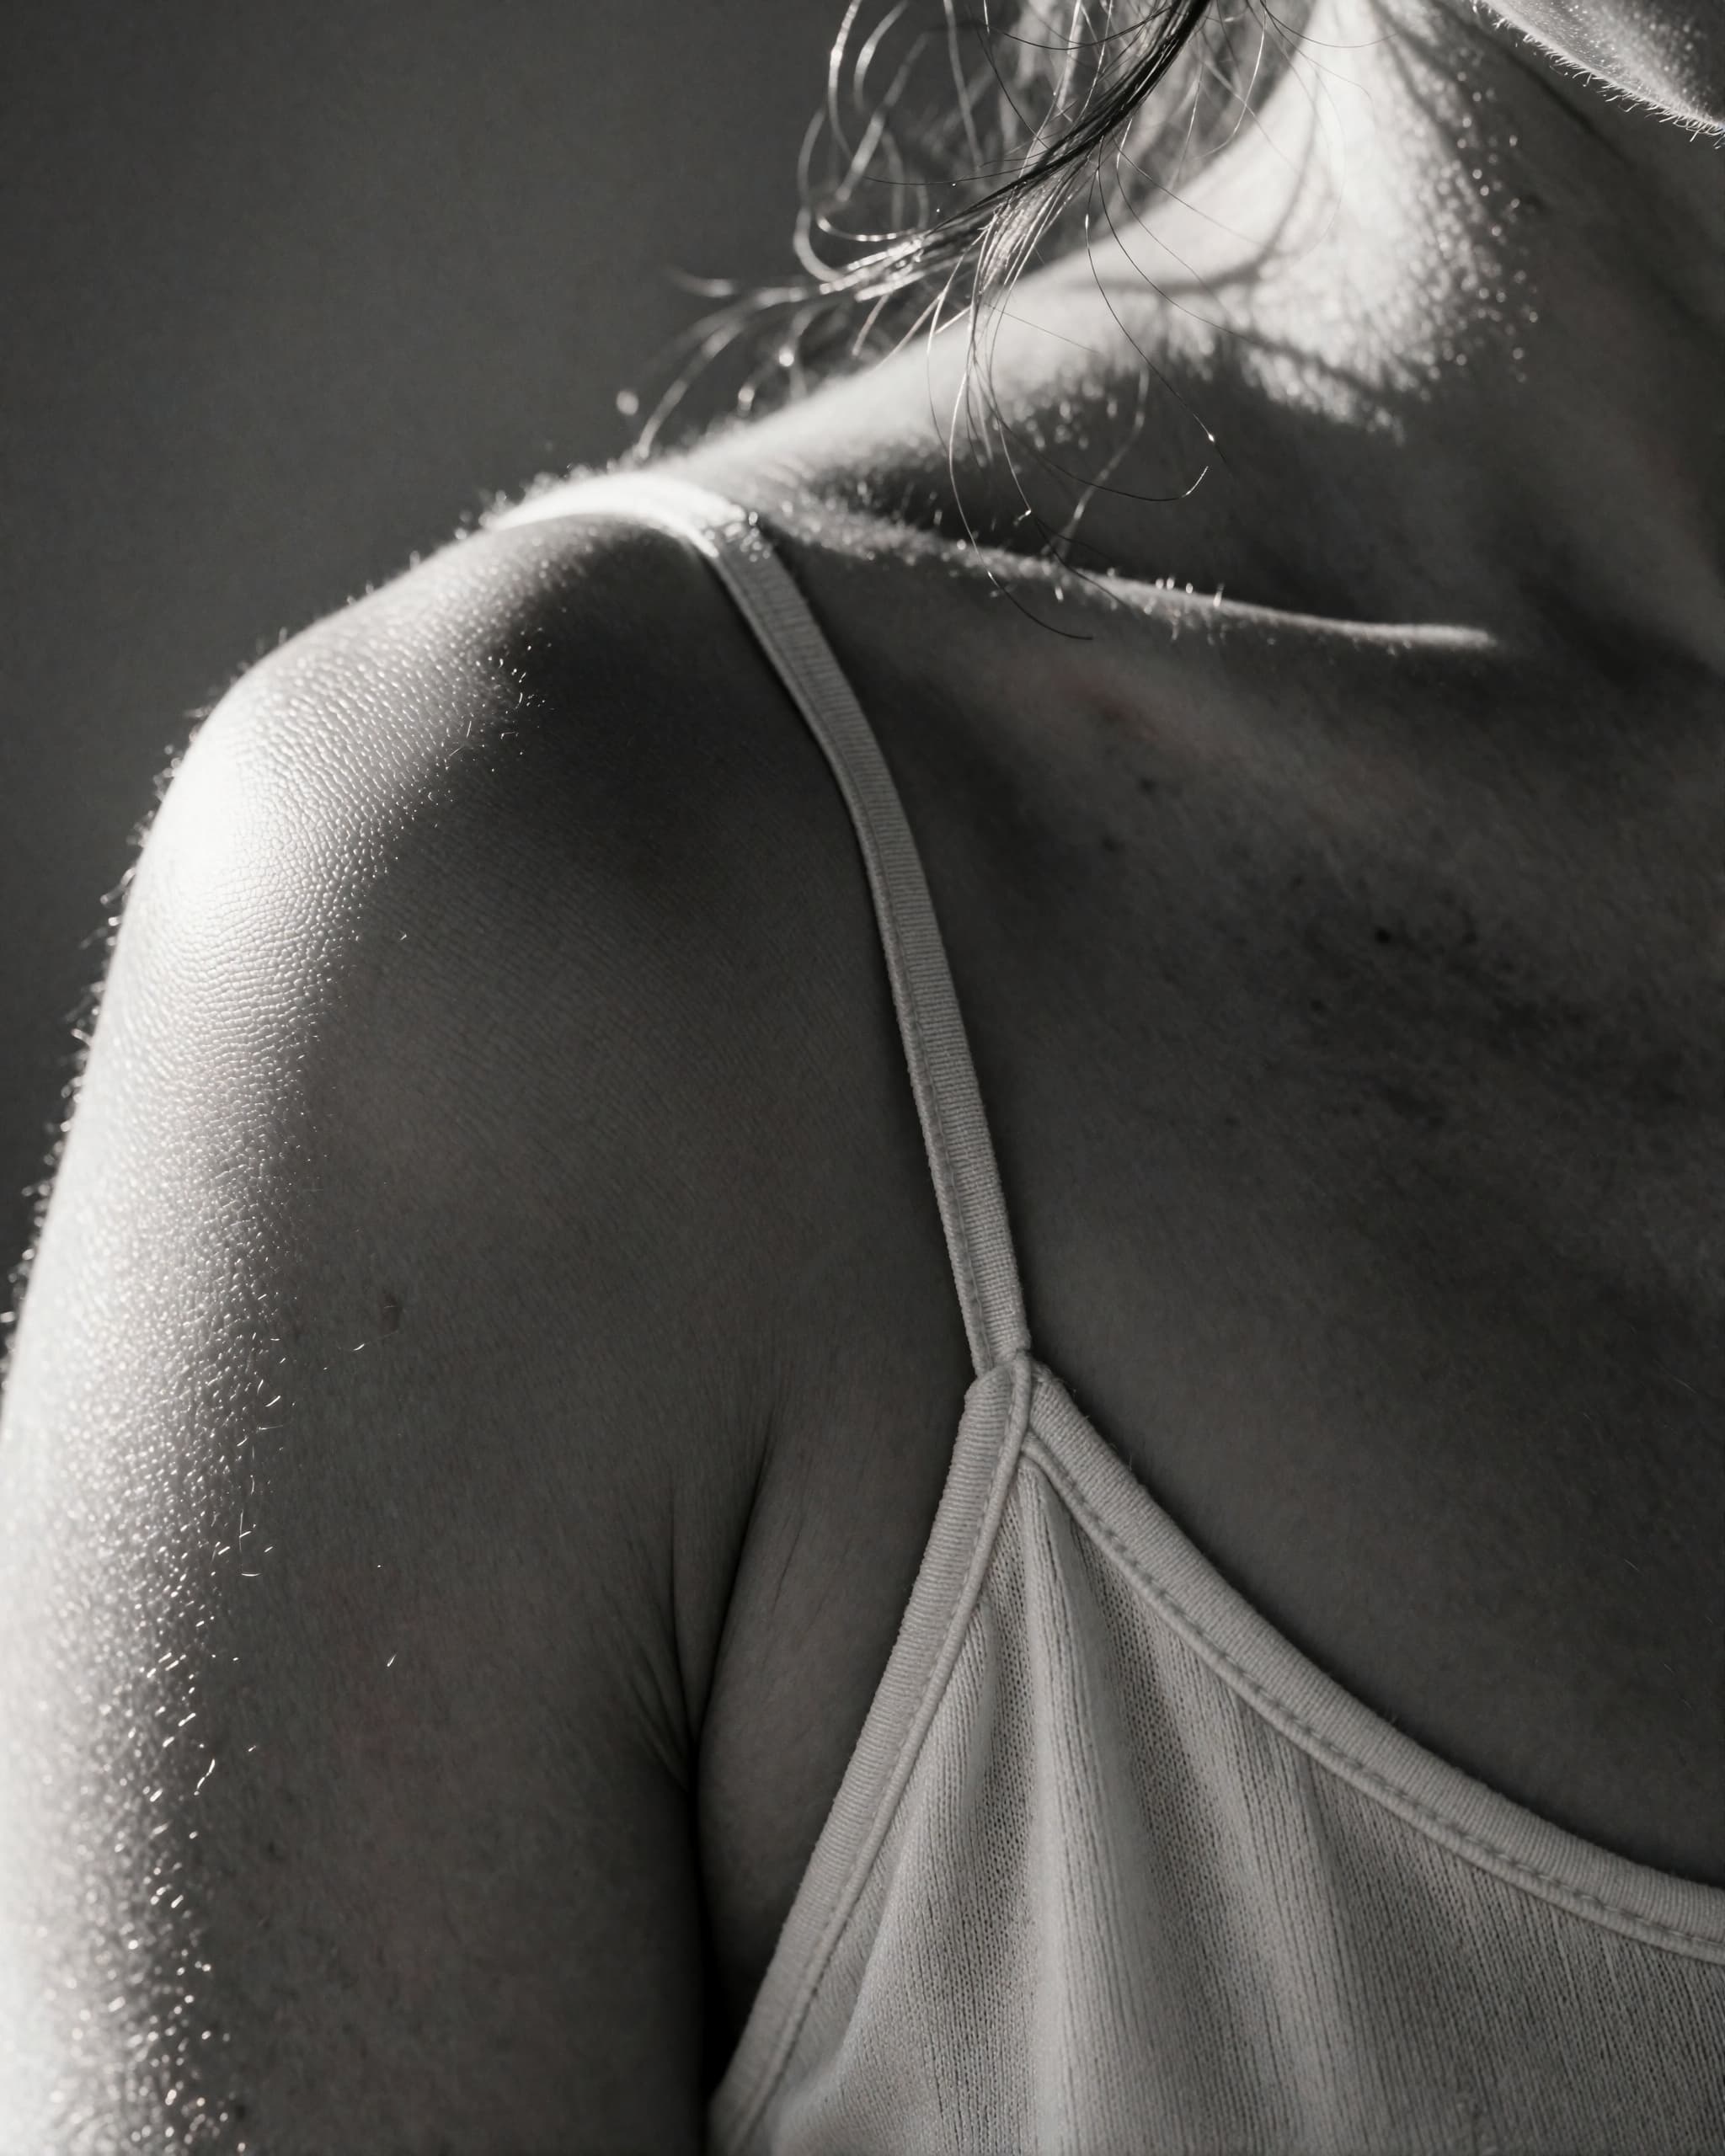
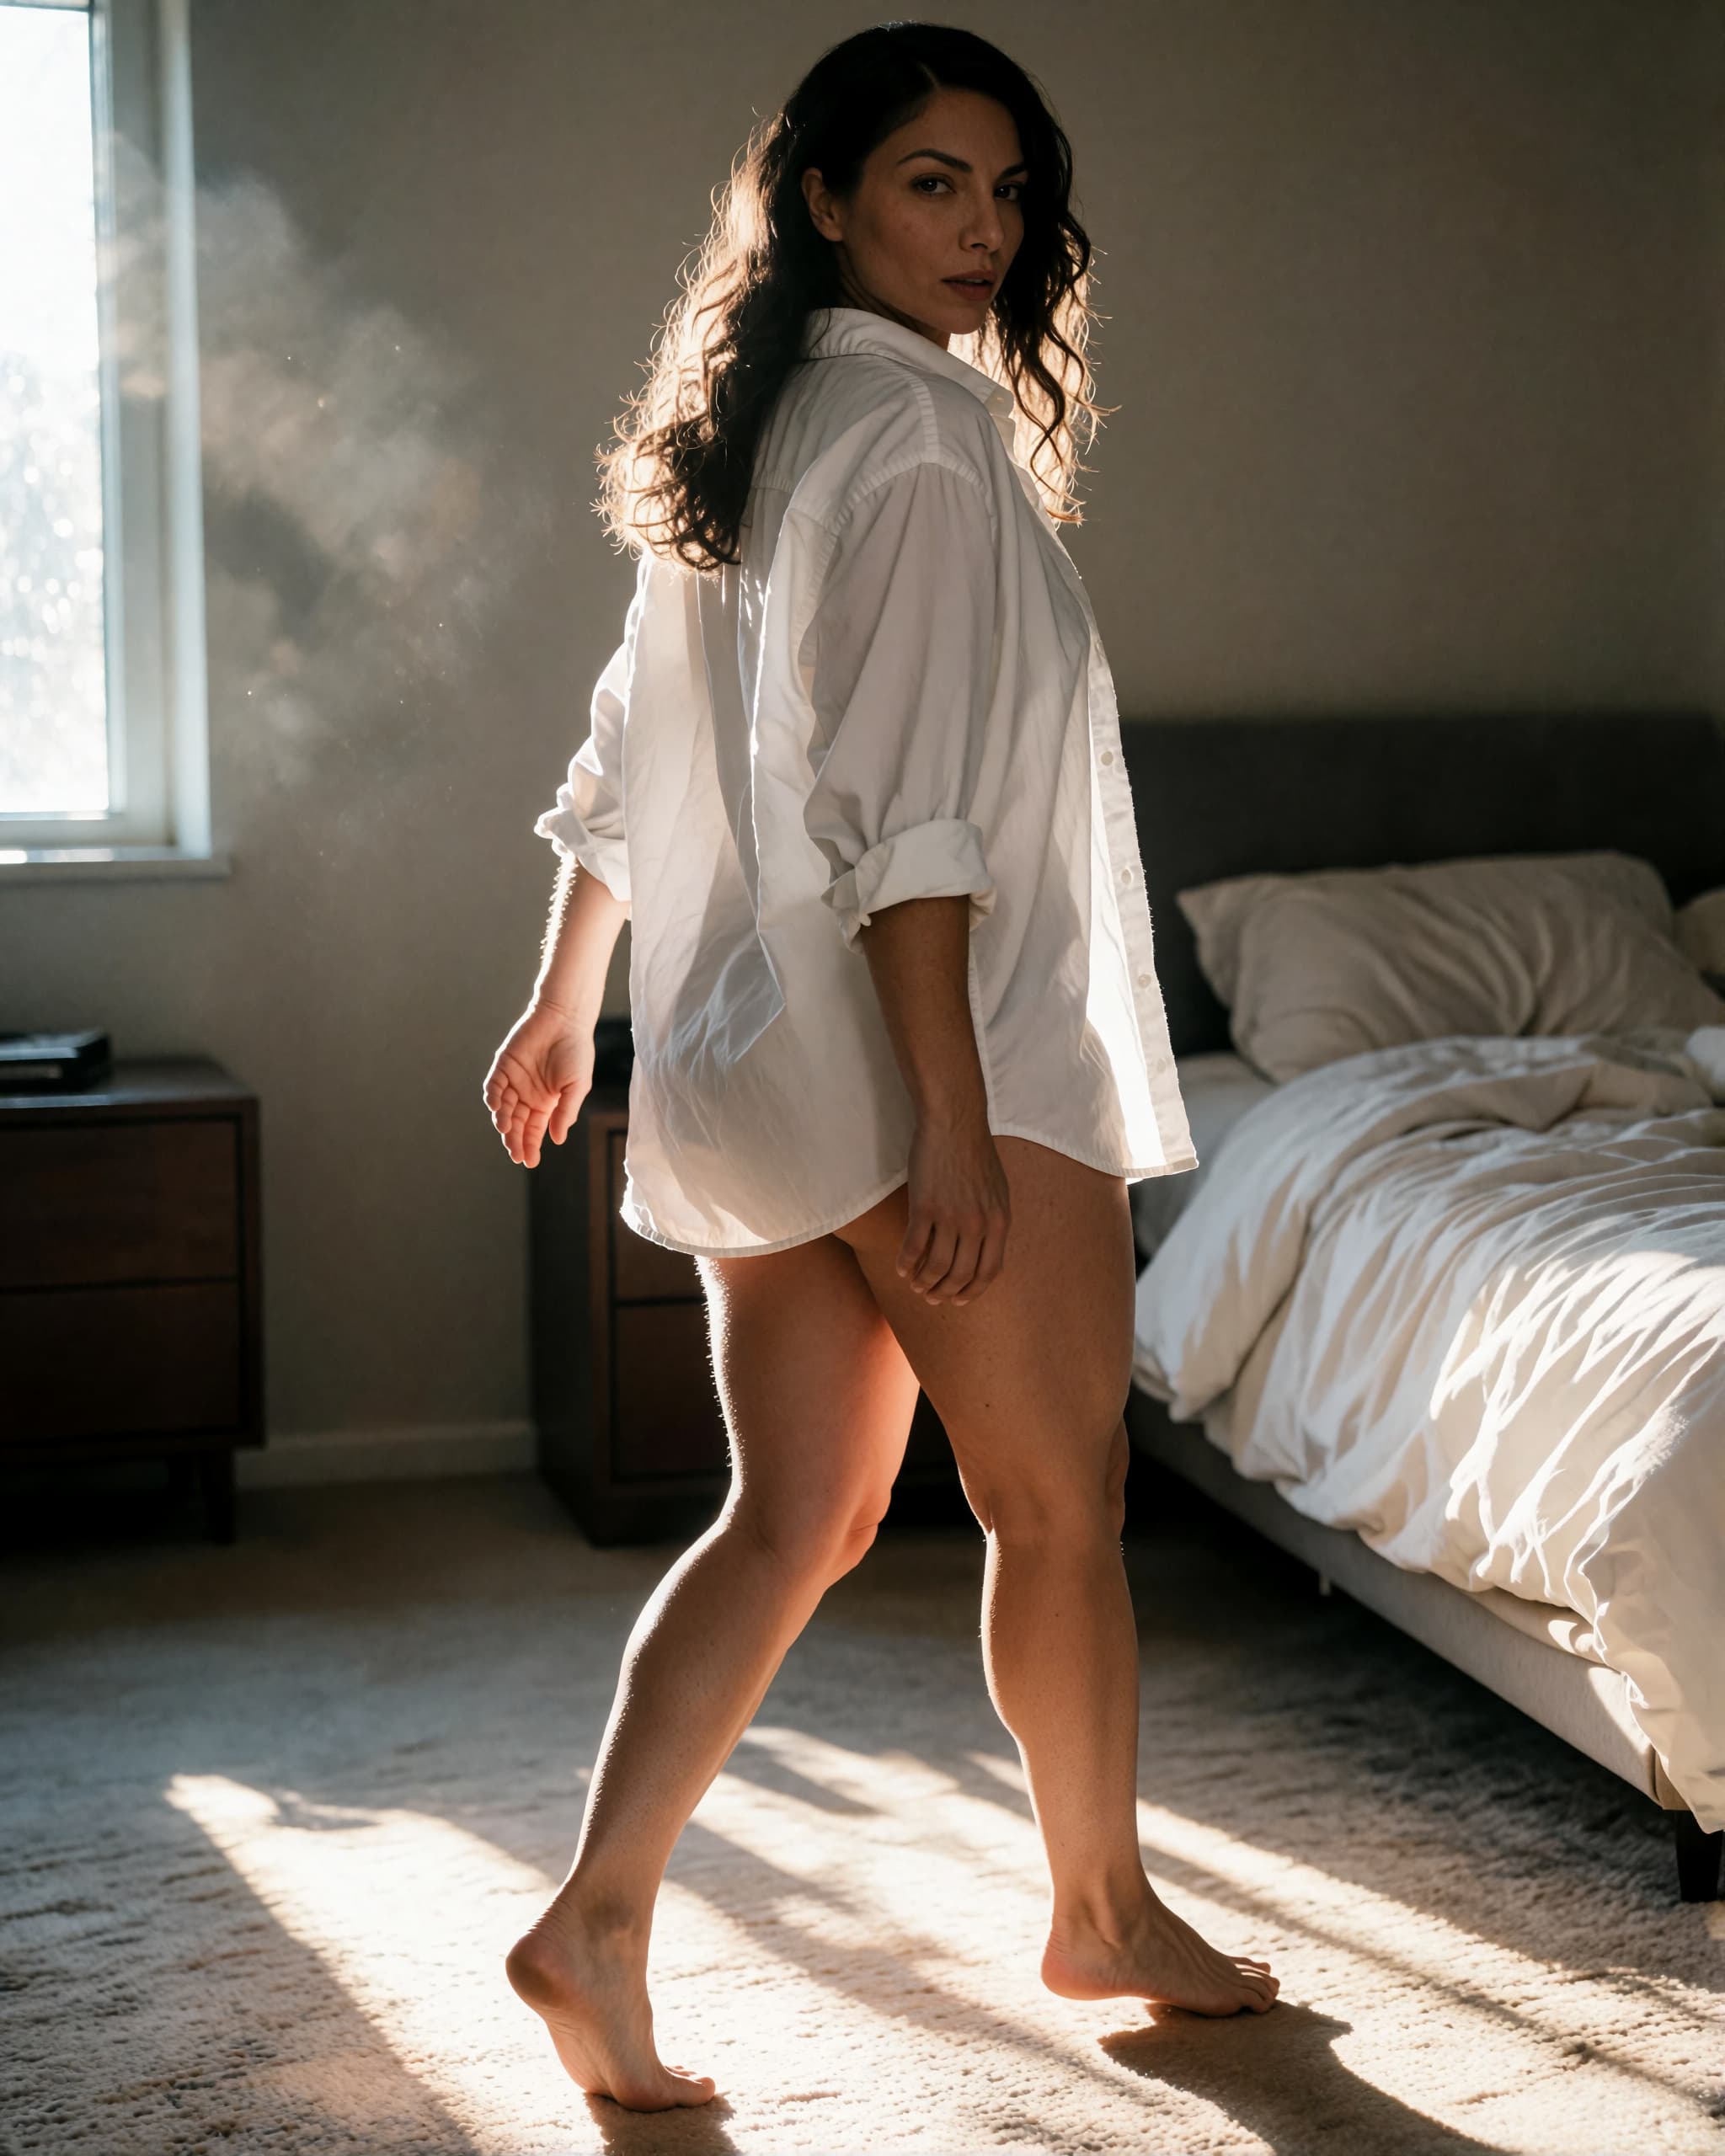
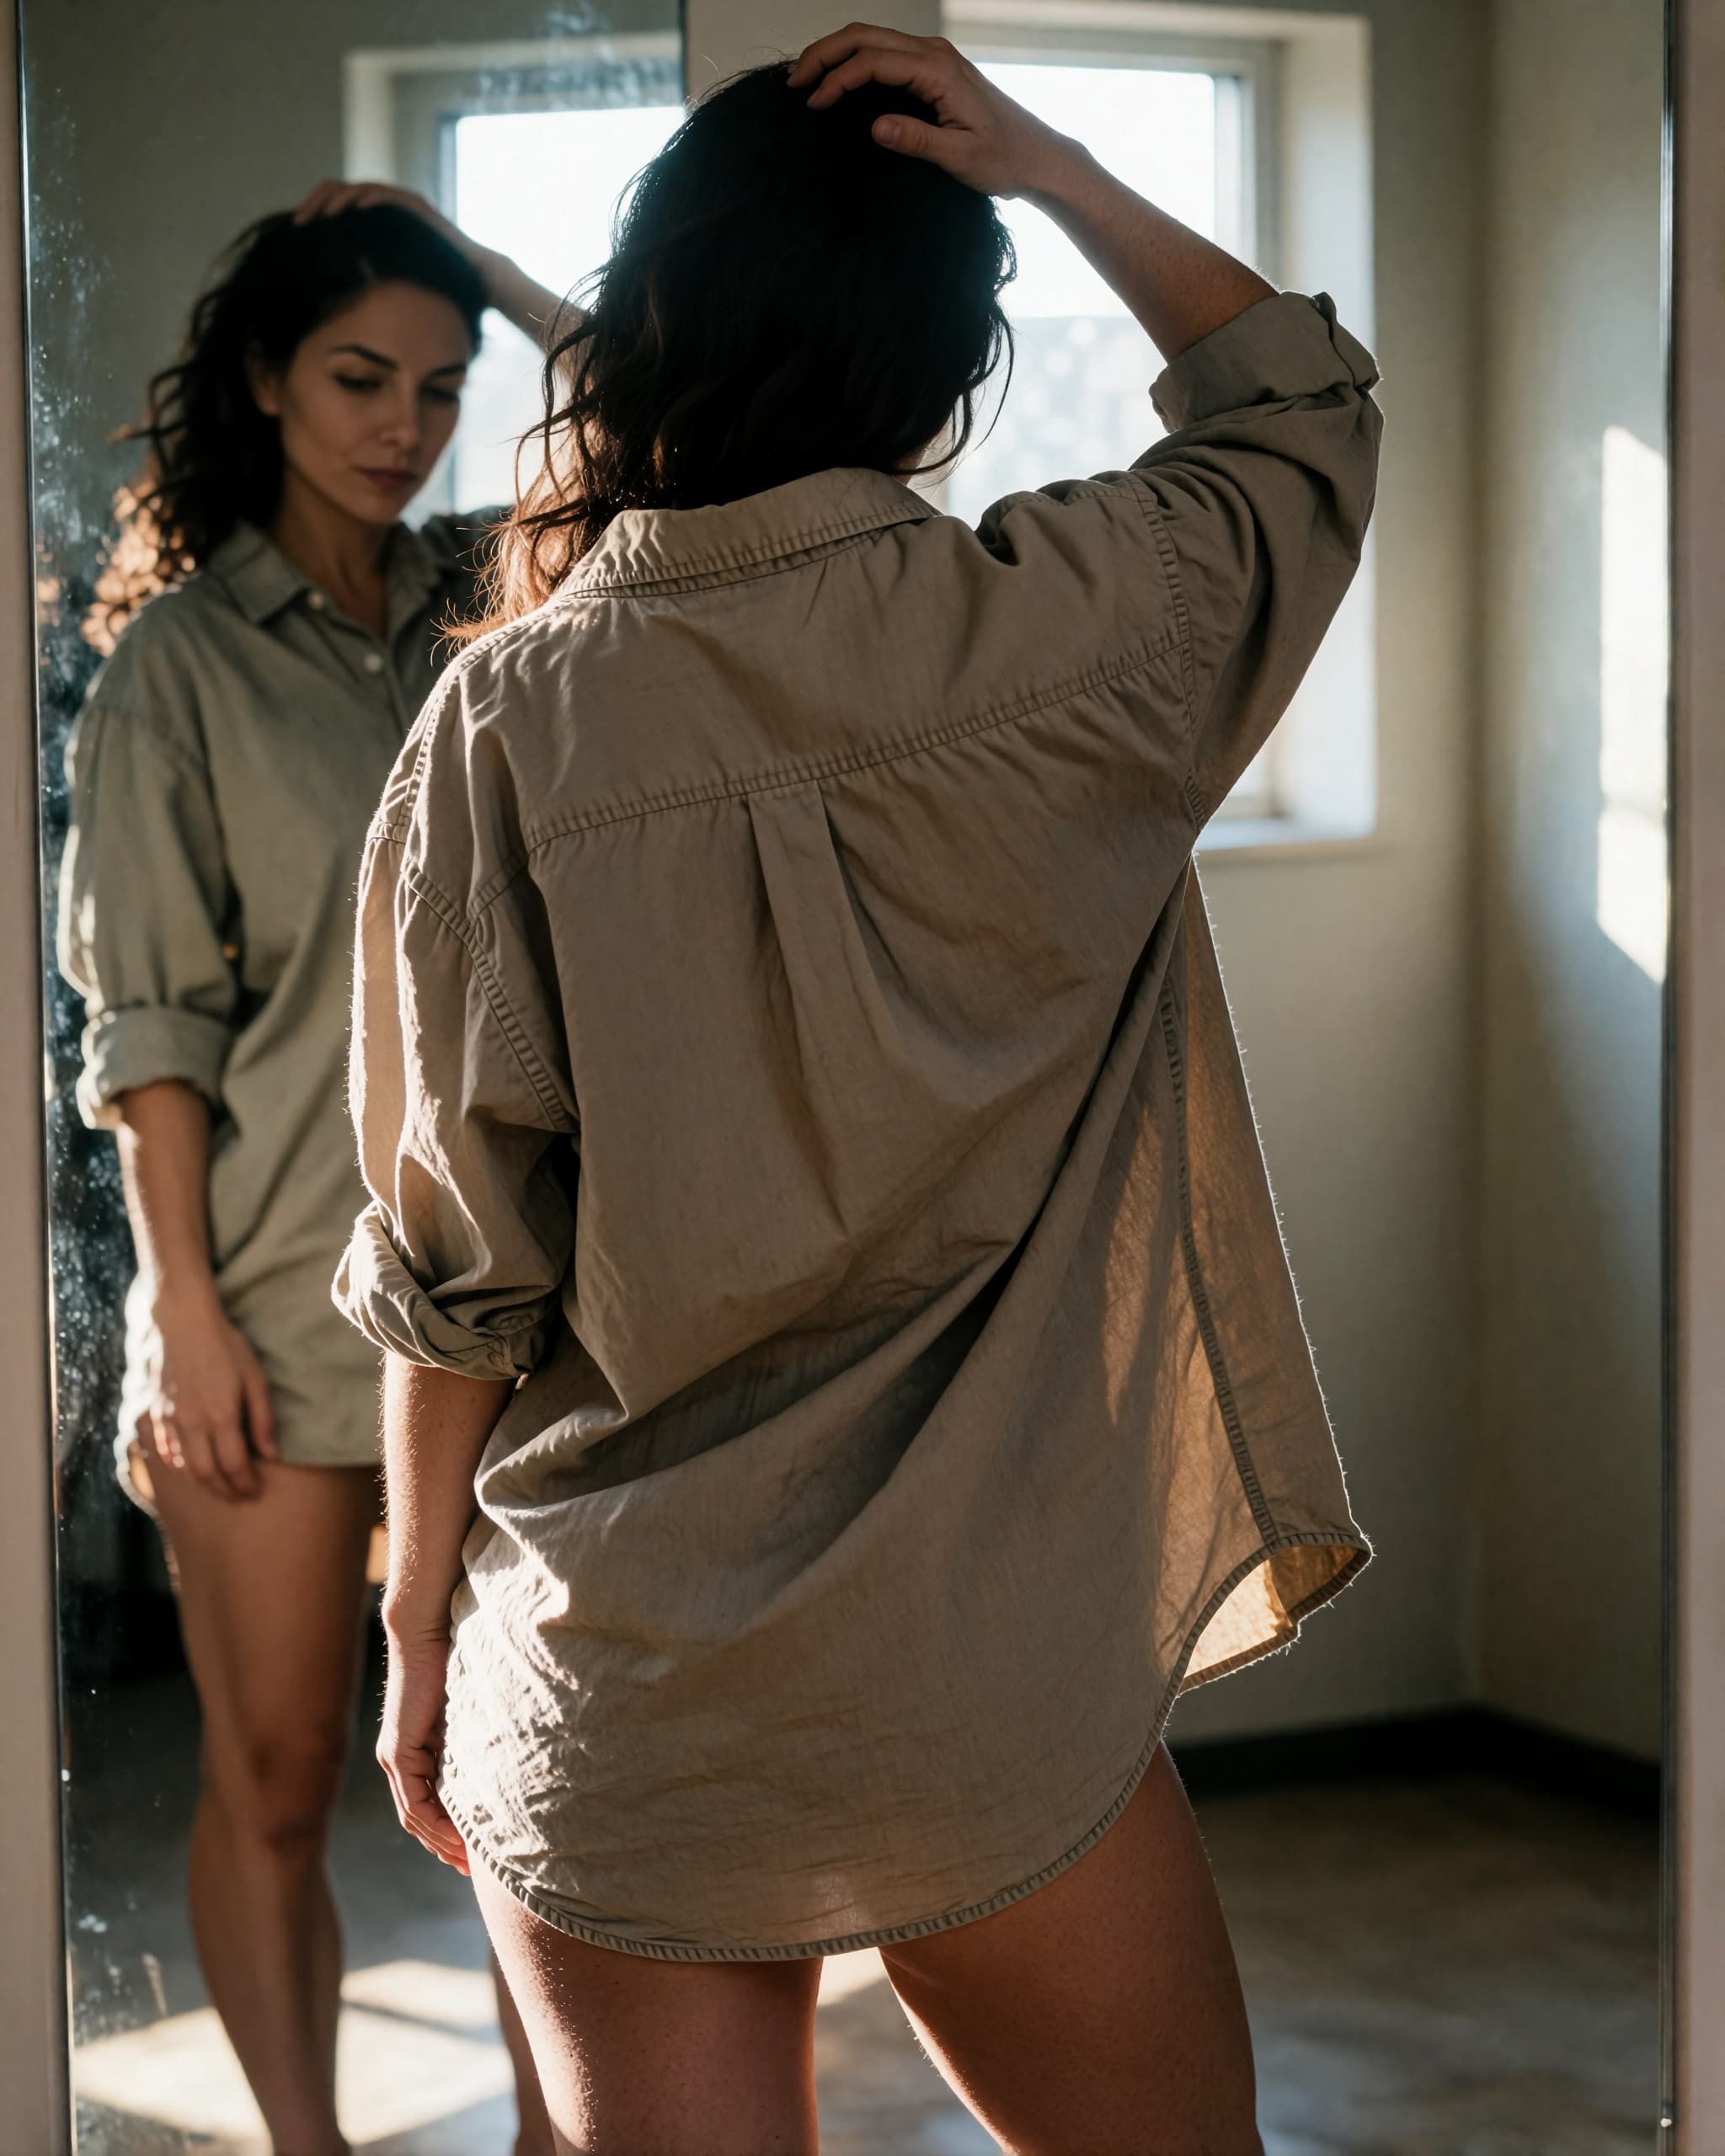
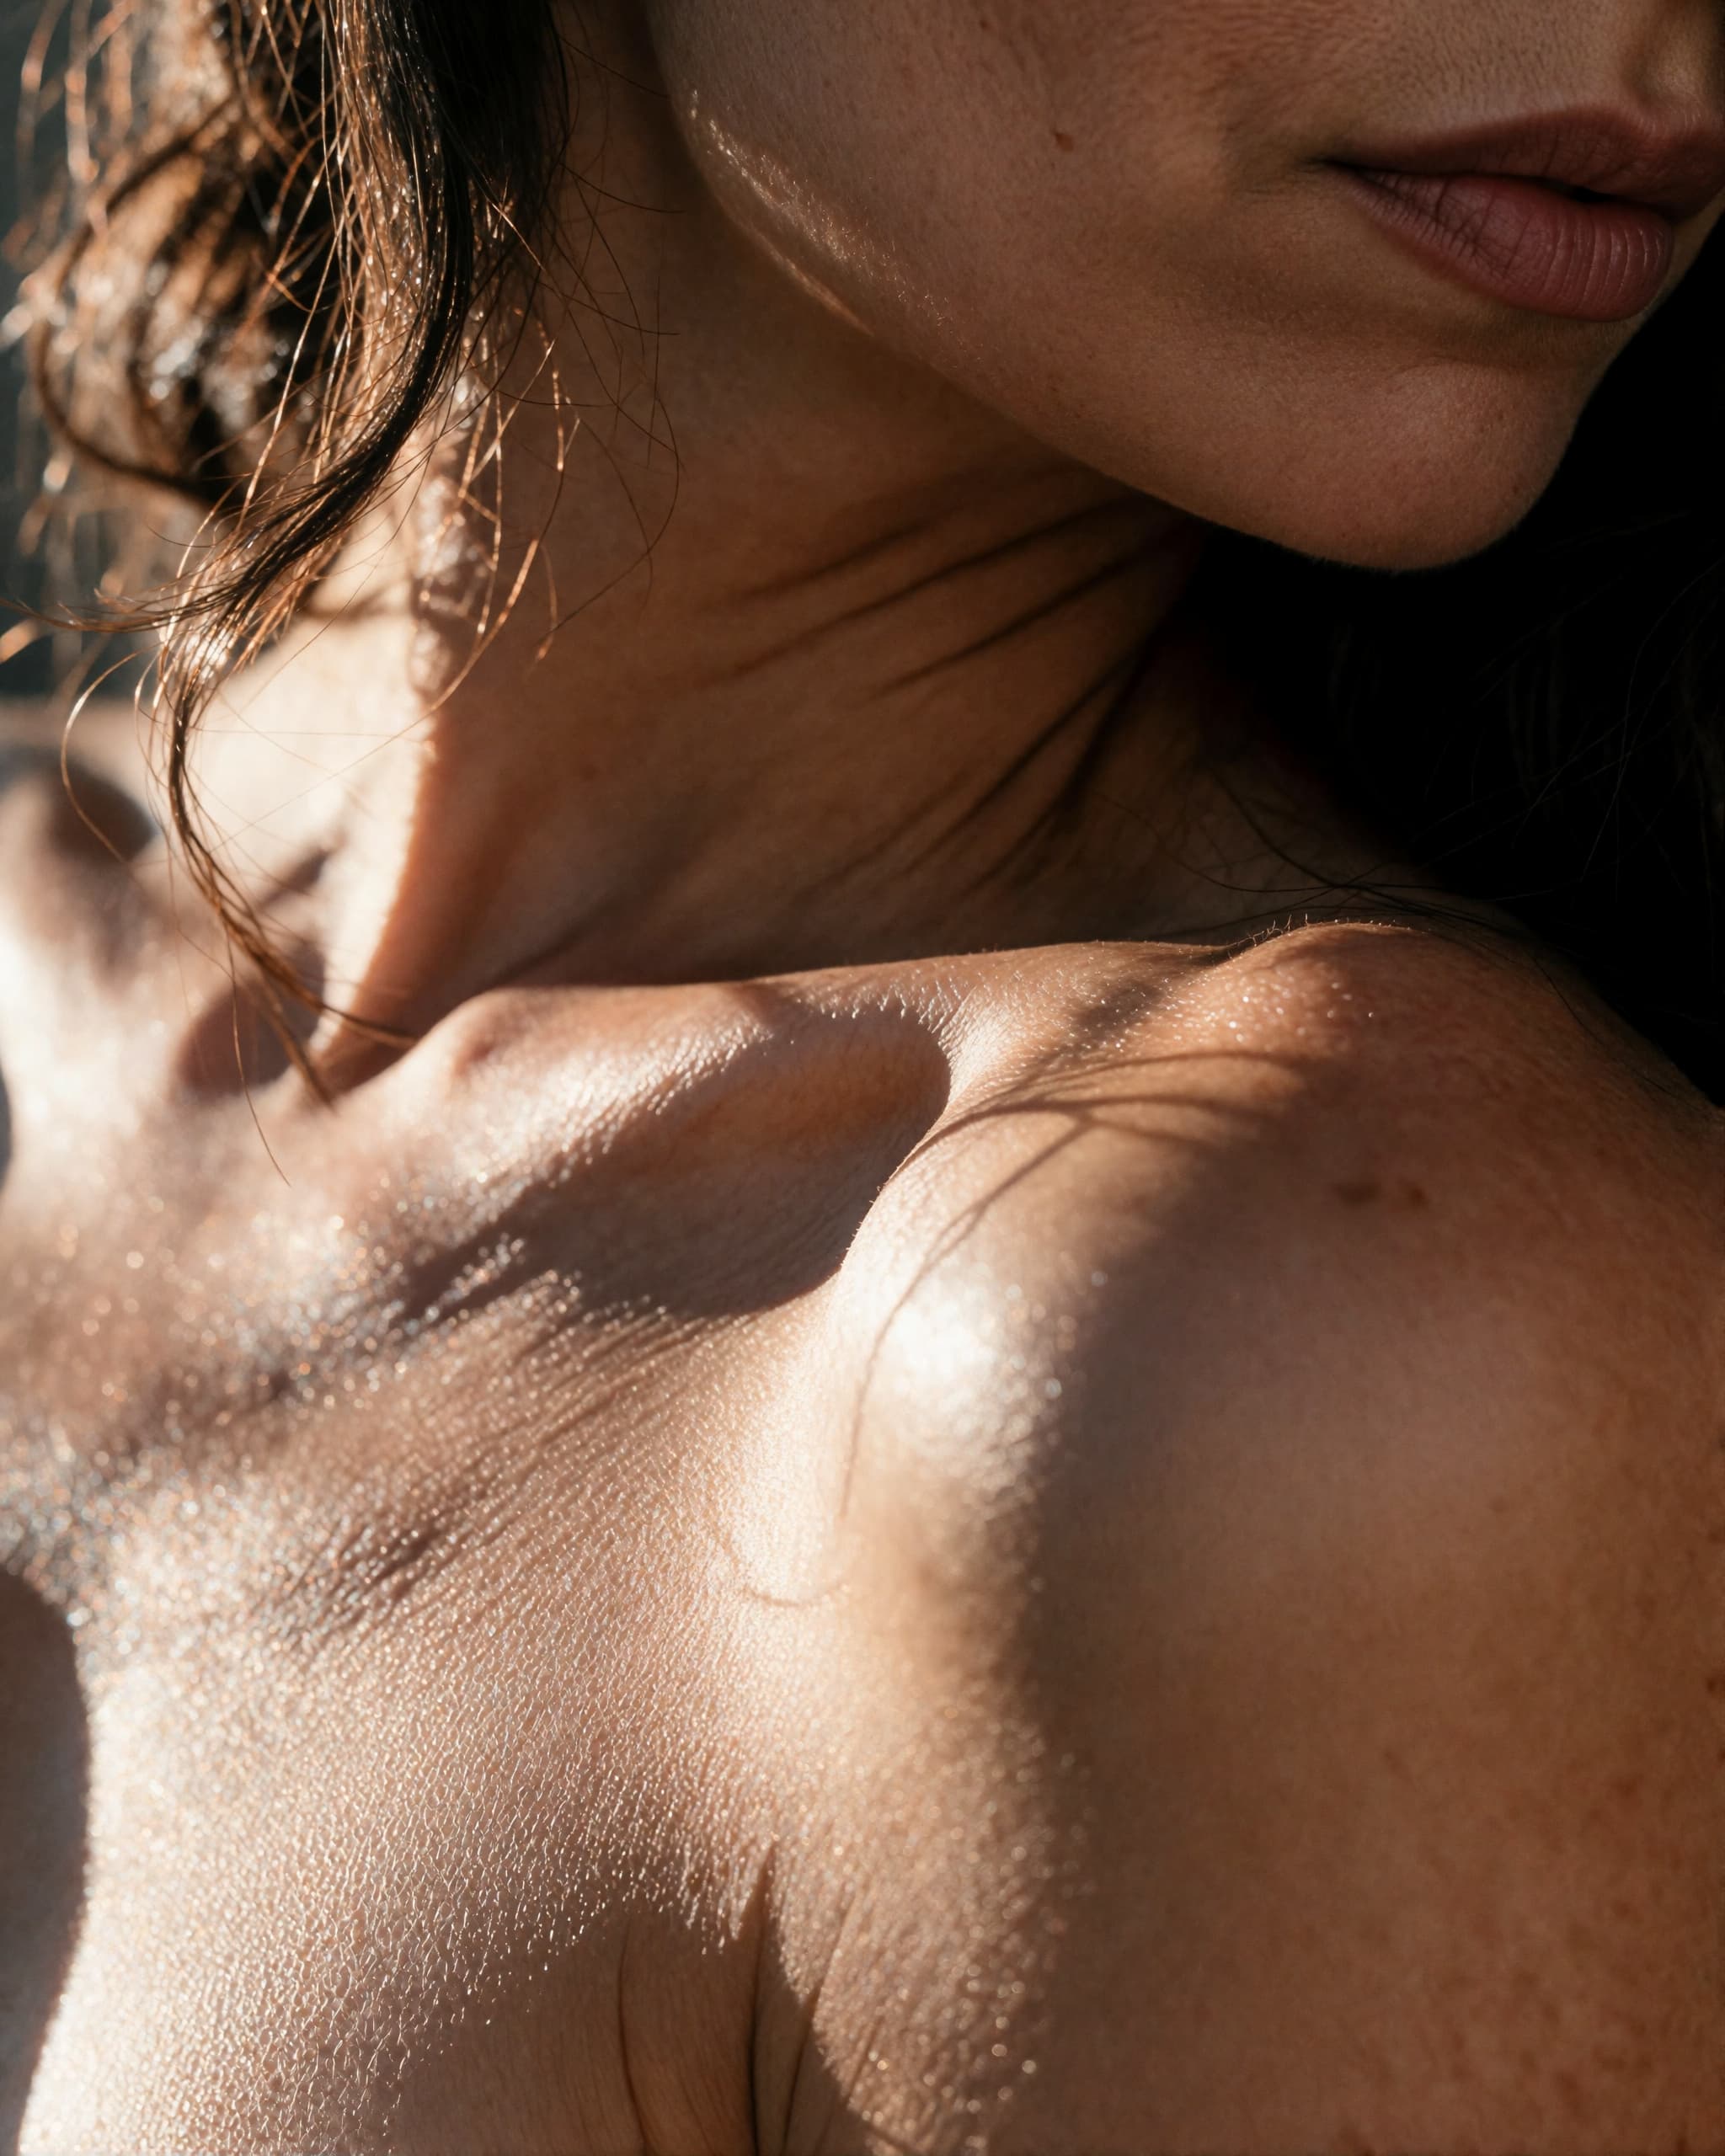
Collarbone Study
Lighting
- Choose the time first. This light is at its best mid-morning or mid-afternoon on an overcast day, bright outside with nothing casting a hard edge, so plan the session around a grey afternoon rather than waiting for sun.
- Work beside a window with the daylight arriving across you from one side, not from behind the camera and not from directly behind you. Side light is what gives a body shape; light straight on flattens it.
- Turn every other light in the room off, including the overheads. One source is what makes the light look considered rather than accidental.
- If the sun does come in hard and direct, close a sheer curtain over it, or pin up a white bedsheet — either turns a hard beam into the soft, wrapping light you want.
- Sit or stand close enough to the window that the light clearly falls on one side of you and falls away on the other. Step further into the room and it flattens out; step right up to the glass and it gets harsh.
- Set the exposure — how bright or dark the picture comes out — off a stand-in, not off yourself: you cannot tap your own body from behind the phone. Put a cushion or a folded coat where you will be, tap the screen on its window-lit side, then drag the slider that appears beside your finger down a touch. Slightly under is the safe direction — a soft shadow can be lifted afterwards and a blown-out highlight cannot.
Posing
- Choose the one thing the frame is about before you do anything else — a shoulder and the strap crossing it, a collarbone, the line of a spine, a pair of crossed ankles. One thing, chosen on purpose, is what separates a detail frame from a crop.
- Decide what is out of frame and be glad of it. This family holds no face and asks for no eye contact, which makes it the easiest thing in a set to shoot and a good place to start on a nervous day.
- Turn the chosen part of you gently towards the light rather than square to the camera. Light arriving across a surface is what shows its texture; light arriving straight on flattens it.
- Lengthen away from whatever you chose. If it is a shoulder, stretch your neck away from it; if it is an ankle, point the toes softly and let the leg extend. The stretch is what gives a small area of a frame a long line.
- Drift a few strands of hair across the skin, or let a lock fall over the front shoulder. A little texture stops a close frame from reading as clinical.
- Let a strap, a hem or a sleeve fall a little out of place on purpose. In a detail frame, one thing slightly undone is the whole story.
- Settle the nearest hand where it will be seen: resting lightly on the skin, holding the fabric, or entirely out of frame. A hand half in the corner is the commonest thing to spoil a close shot.
- Get comfortable before the timer starts. Detail frames want stillness, and at this distance the smallest sway is visible.
- Hold still through the whole run of frames, and breathe shallowly rather than deeply. This is the one family where the exhale moves you too much.
- Take a test frame, look at it, and shift where you are sitting by a couple of centimetres rather than trying to be exact first time. Setting up a close-up alone is genuinely fiddly, everyone finds it so, and the fix is more attempts rather than more precision.
- Look at the test frames and check the edges before you commit. Deciding exactly where the frame cuts is most of the work in this family, and it is far quicker to fix now than to crop afterwards.
Coming with free accounts: saving this look to your favourites, dropping it straight into a shoot plan, and pose notes adjusted to your space and comfort level. Until then, the recipe above is the whole thing — print it, or keep it open on your phone. Grab the free checklist and we'll email you the moment accounts open.